Here’s a lantern tutorial that’s so quick and easy, you can do it in around half an hour. It uses mostly things you have around the house, but if you need to purchase any supplies, you’ll find them easy to procure.
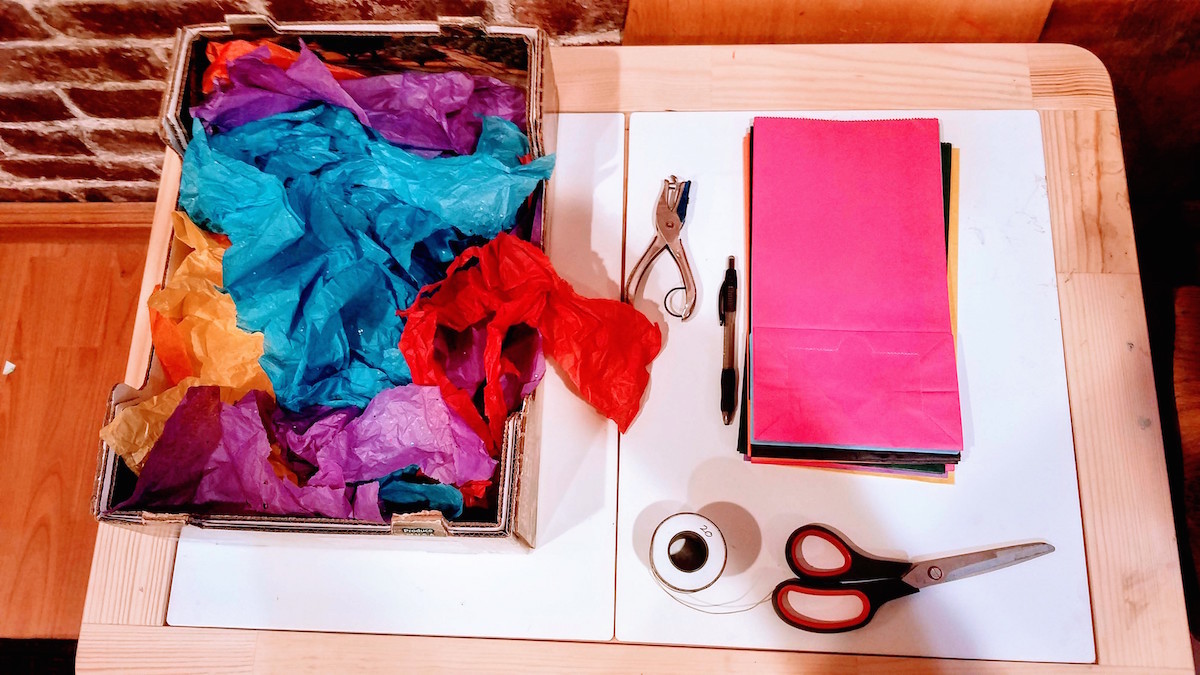
You will need:
Paper lunch bags. (Approximately 4 – 6 inches wide.) You will need one bag per lantern. Colored, brown or white. Your choice!
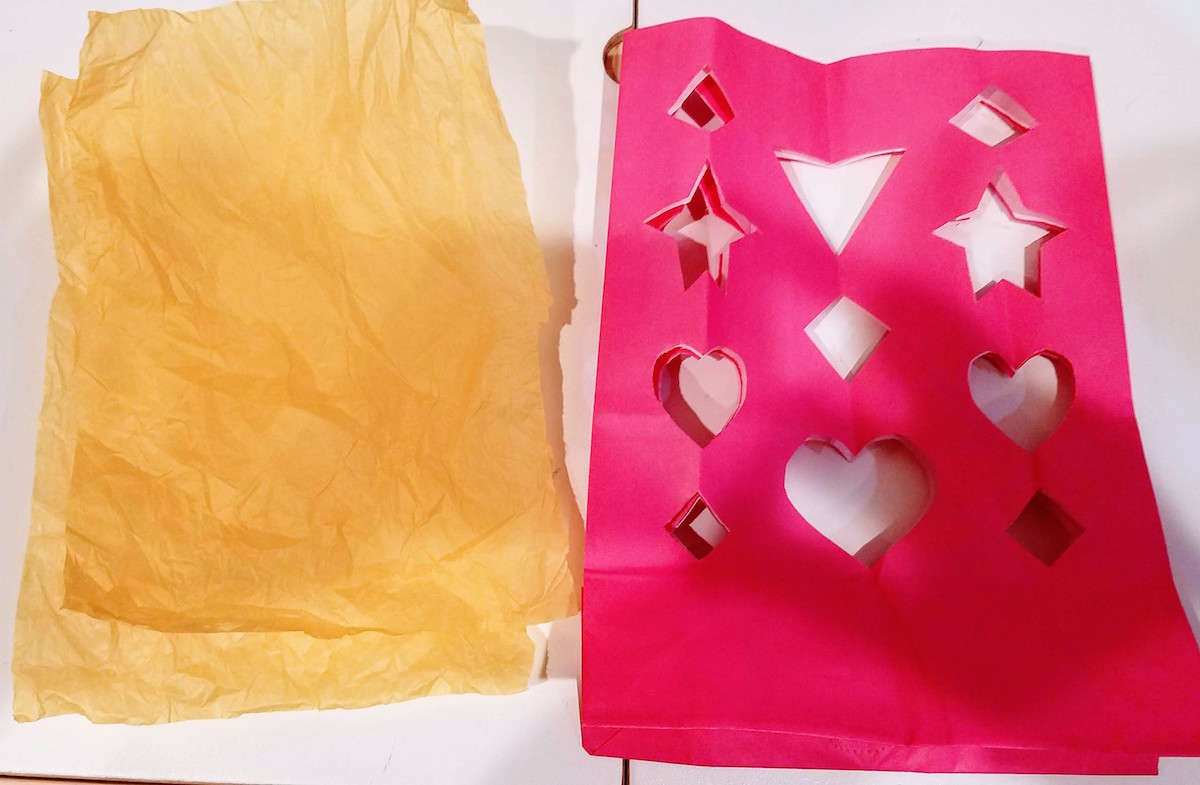
Tissue paper, like the kinds you’d use to wrap a present. Either colored or white will work fine. (Approximately 1/4 sheet of tissue paper per lantern.)
Scissors
Hole punch
Packing Tape
Yarn or Thin Wire (You will also need wire cutters if you use wire)
Scotch Tape
LED Tea Light – One to three tea lights per lantern (Also known as a “Flameless Candle“, available online or at your local art supply store.
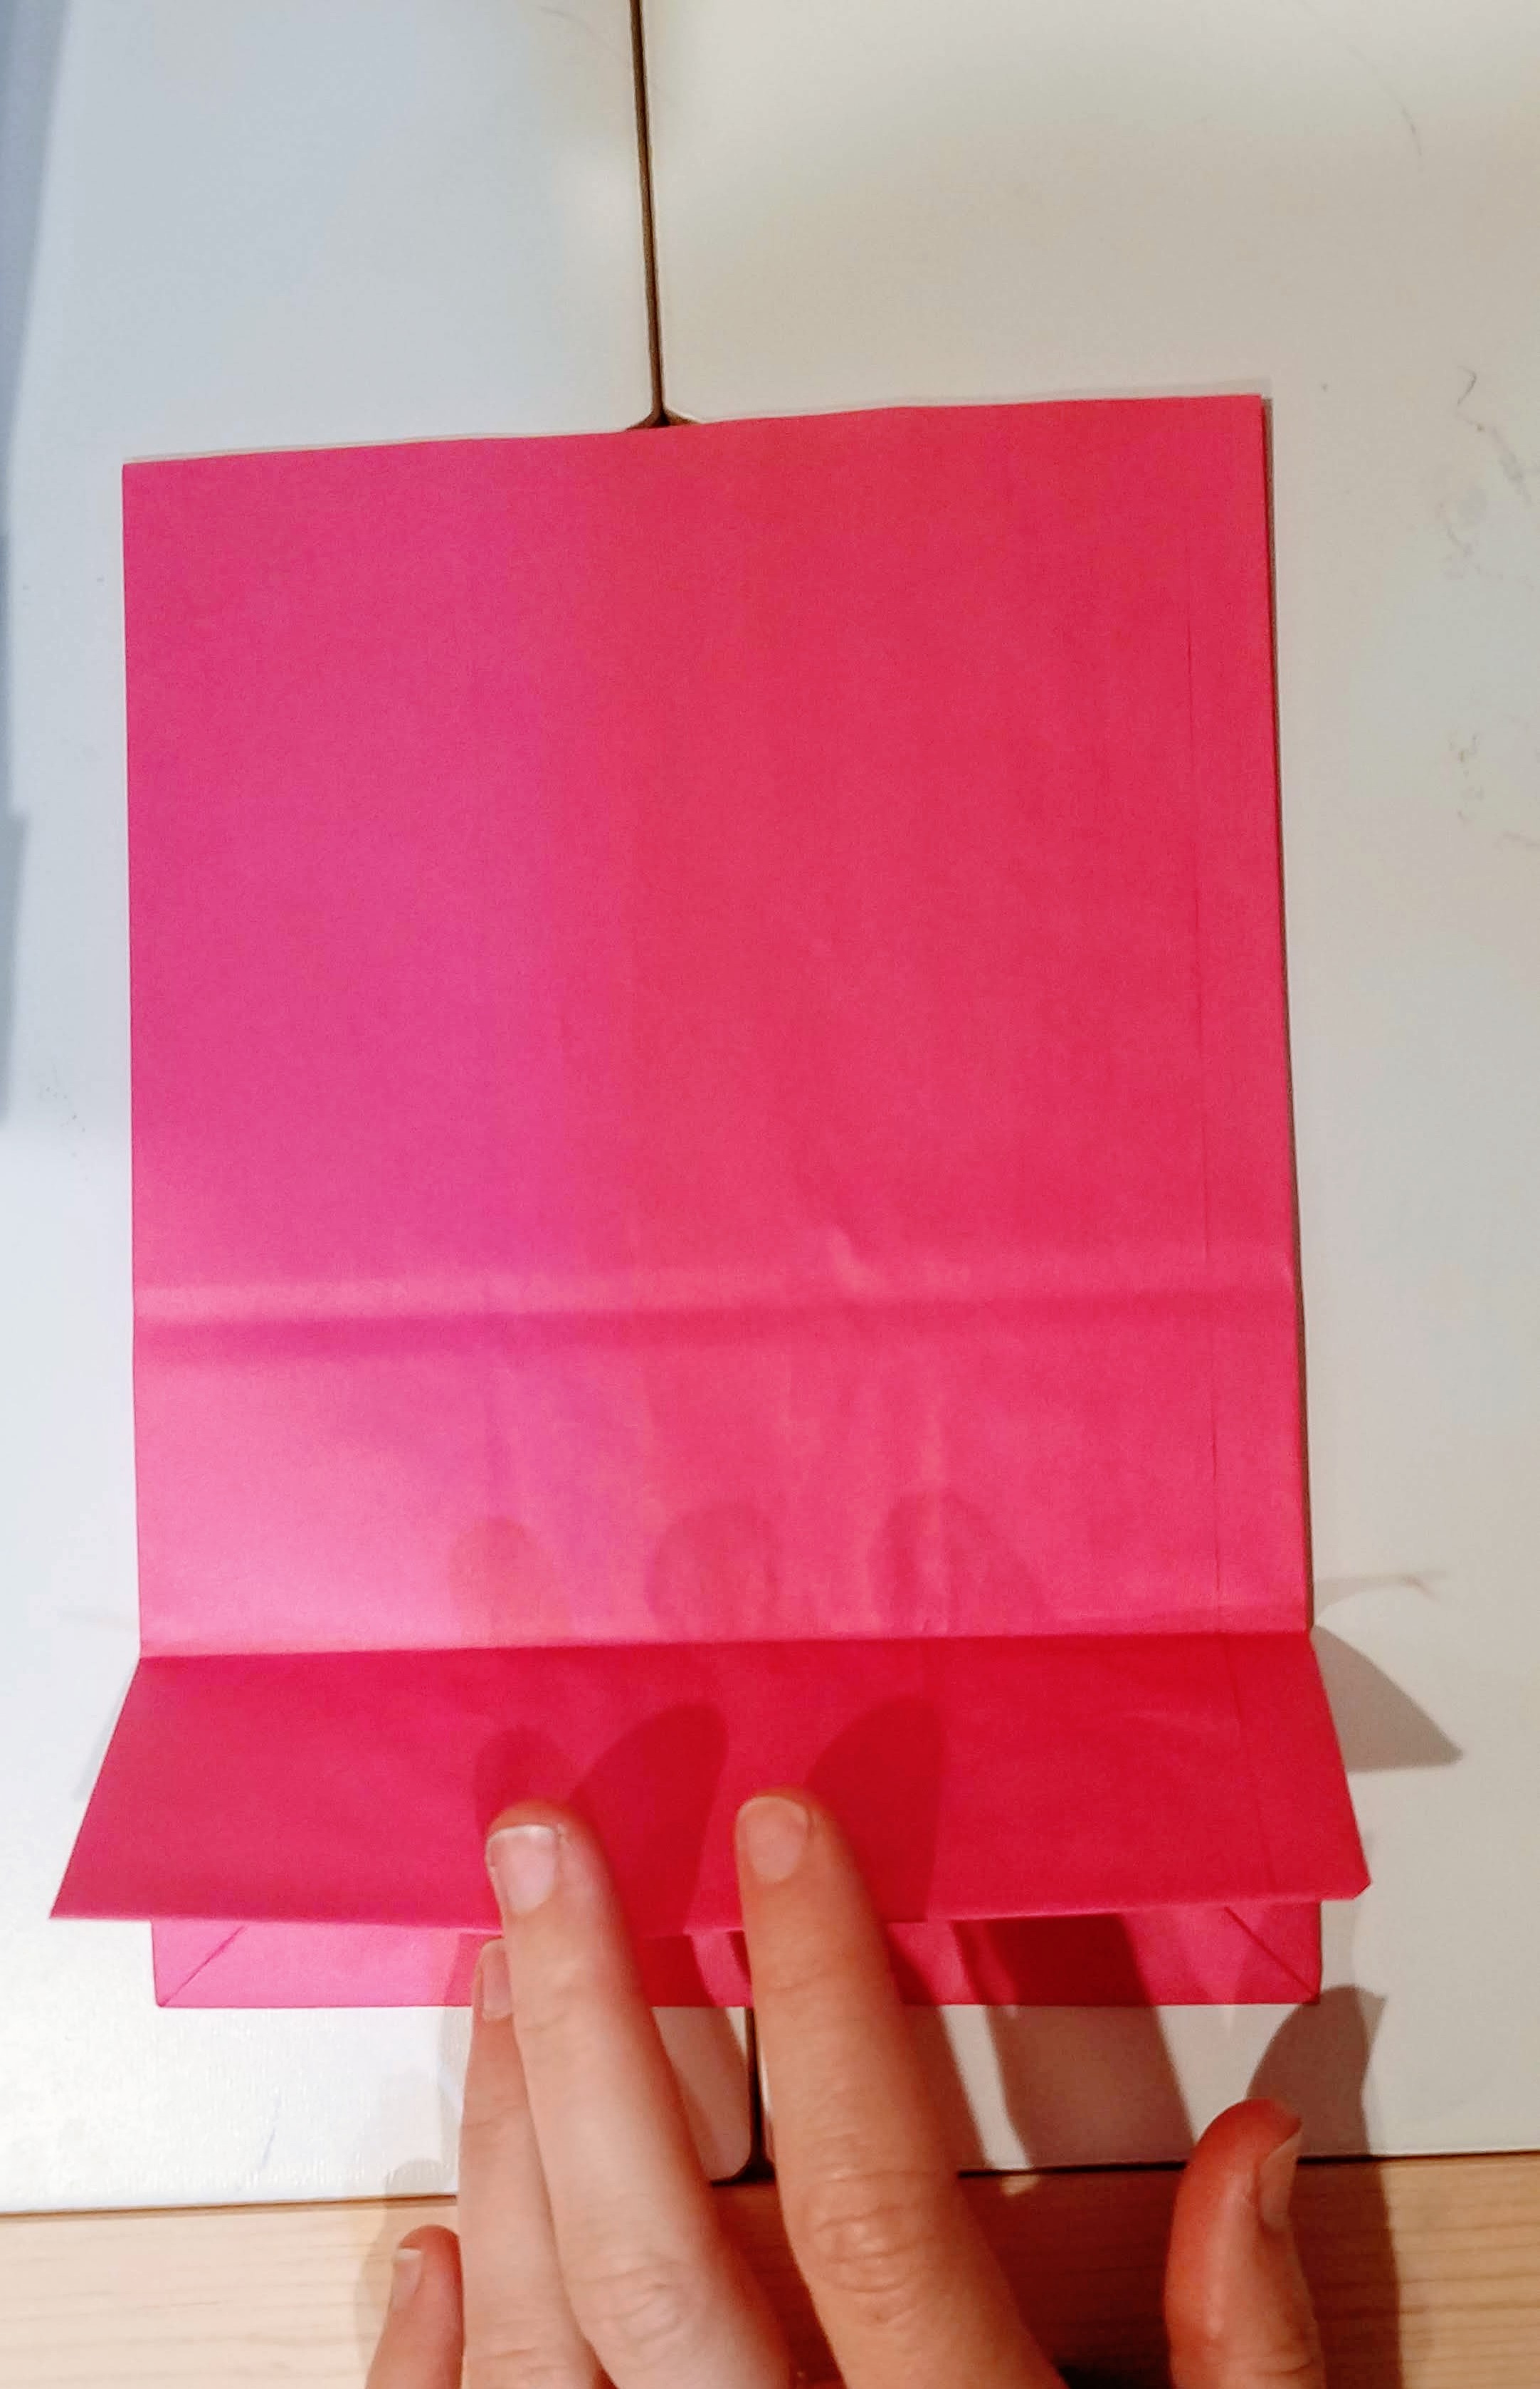
1) First, cut off the top of the bag, to make it the size you like. I’ve cut about three inches off the top of the bag in this picture, and that is a really nice size for this. Then, lay your bag out like this, so that the folded base shows on top.
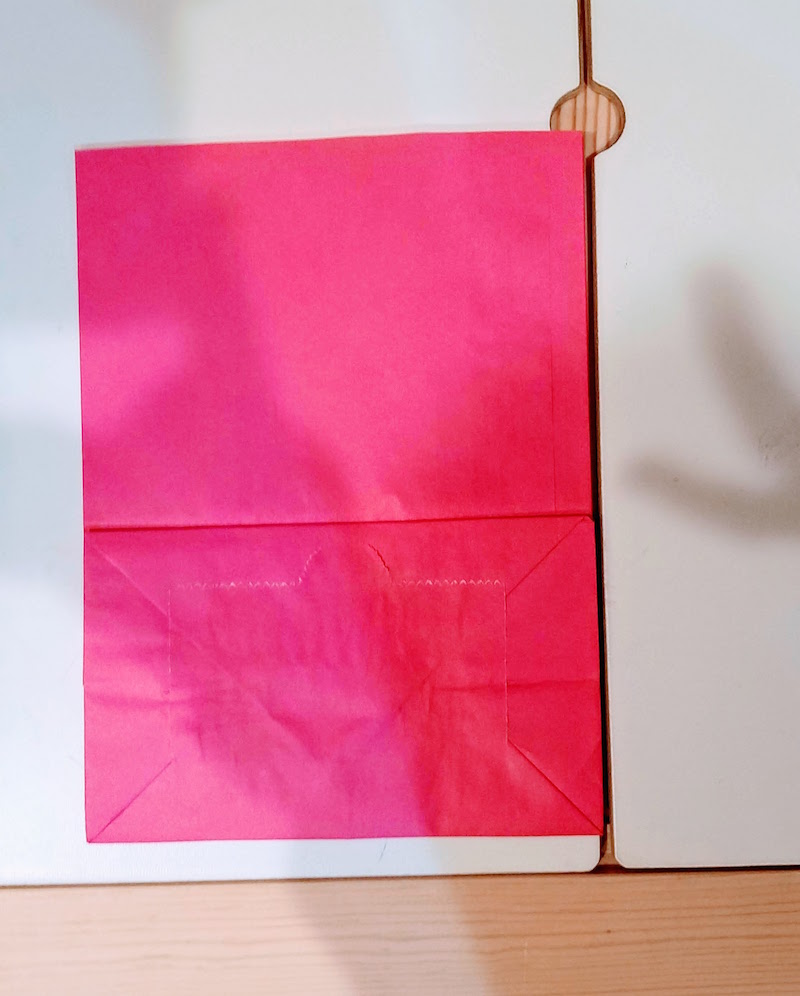
2) Now, fold the front half of the base down, so that it looks like this.
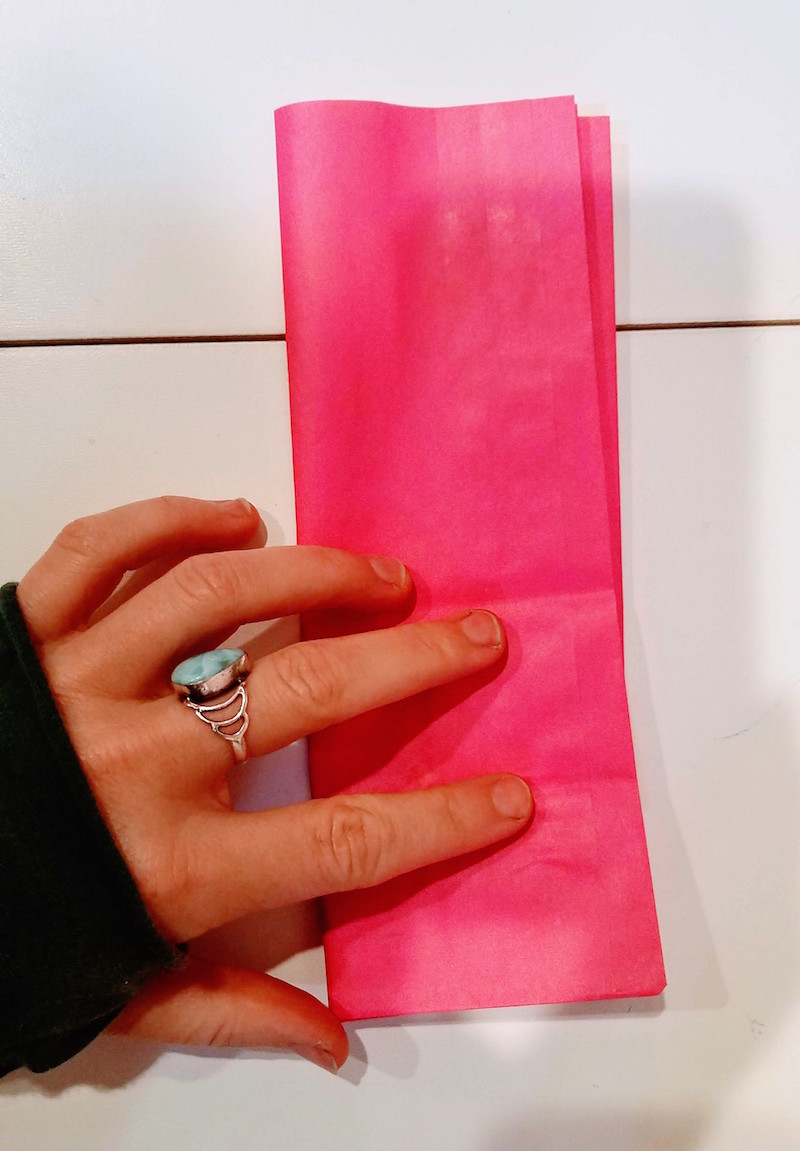
3) Next, fold the bag lengthwise.
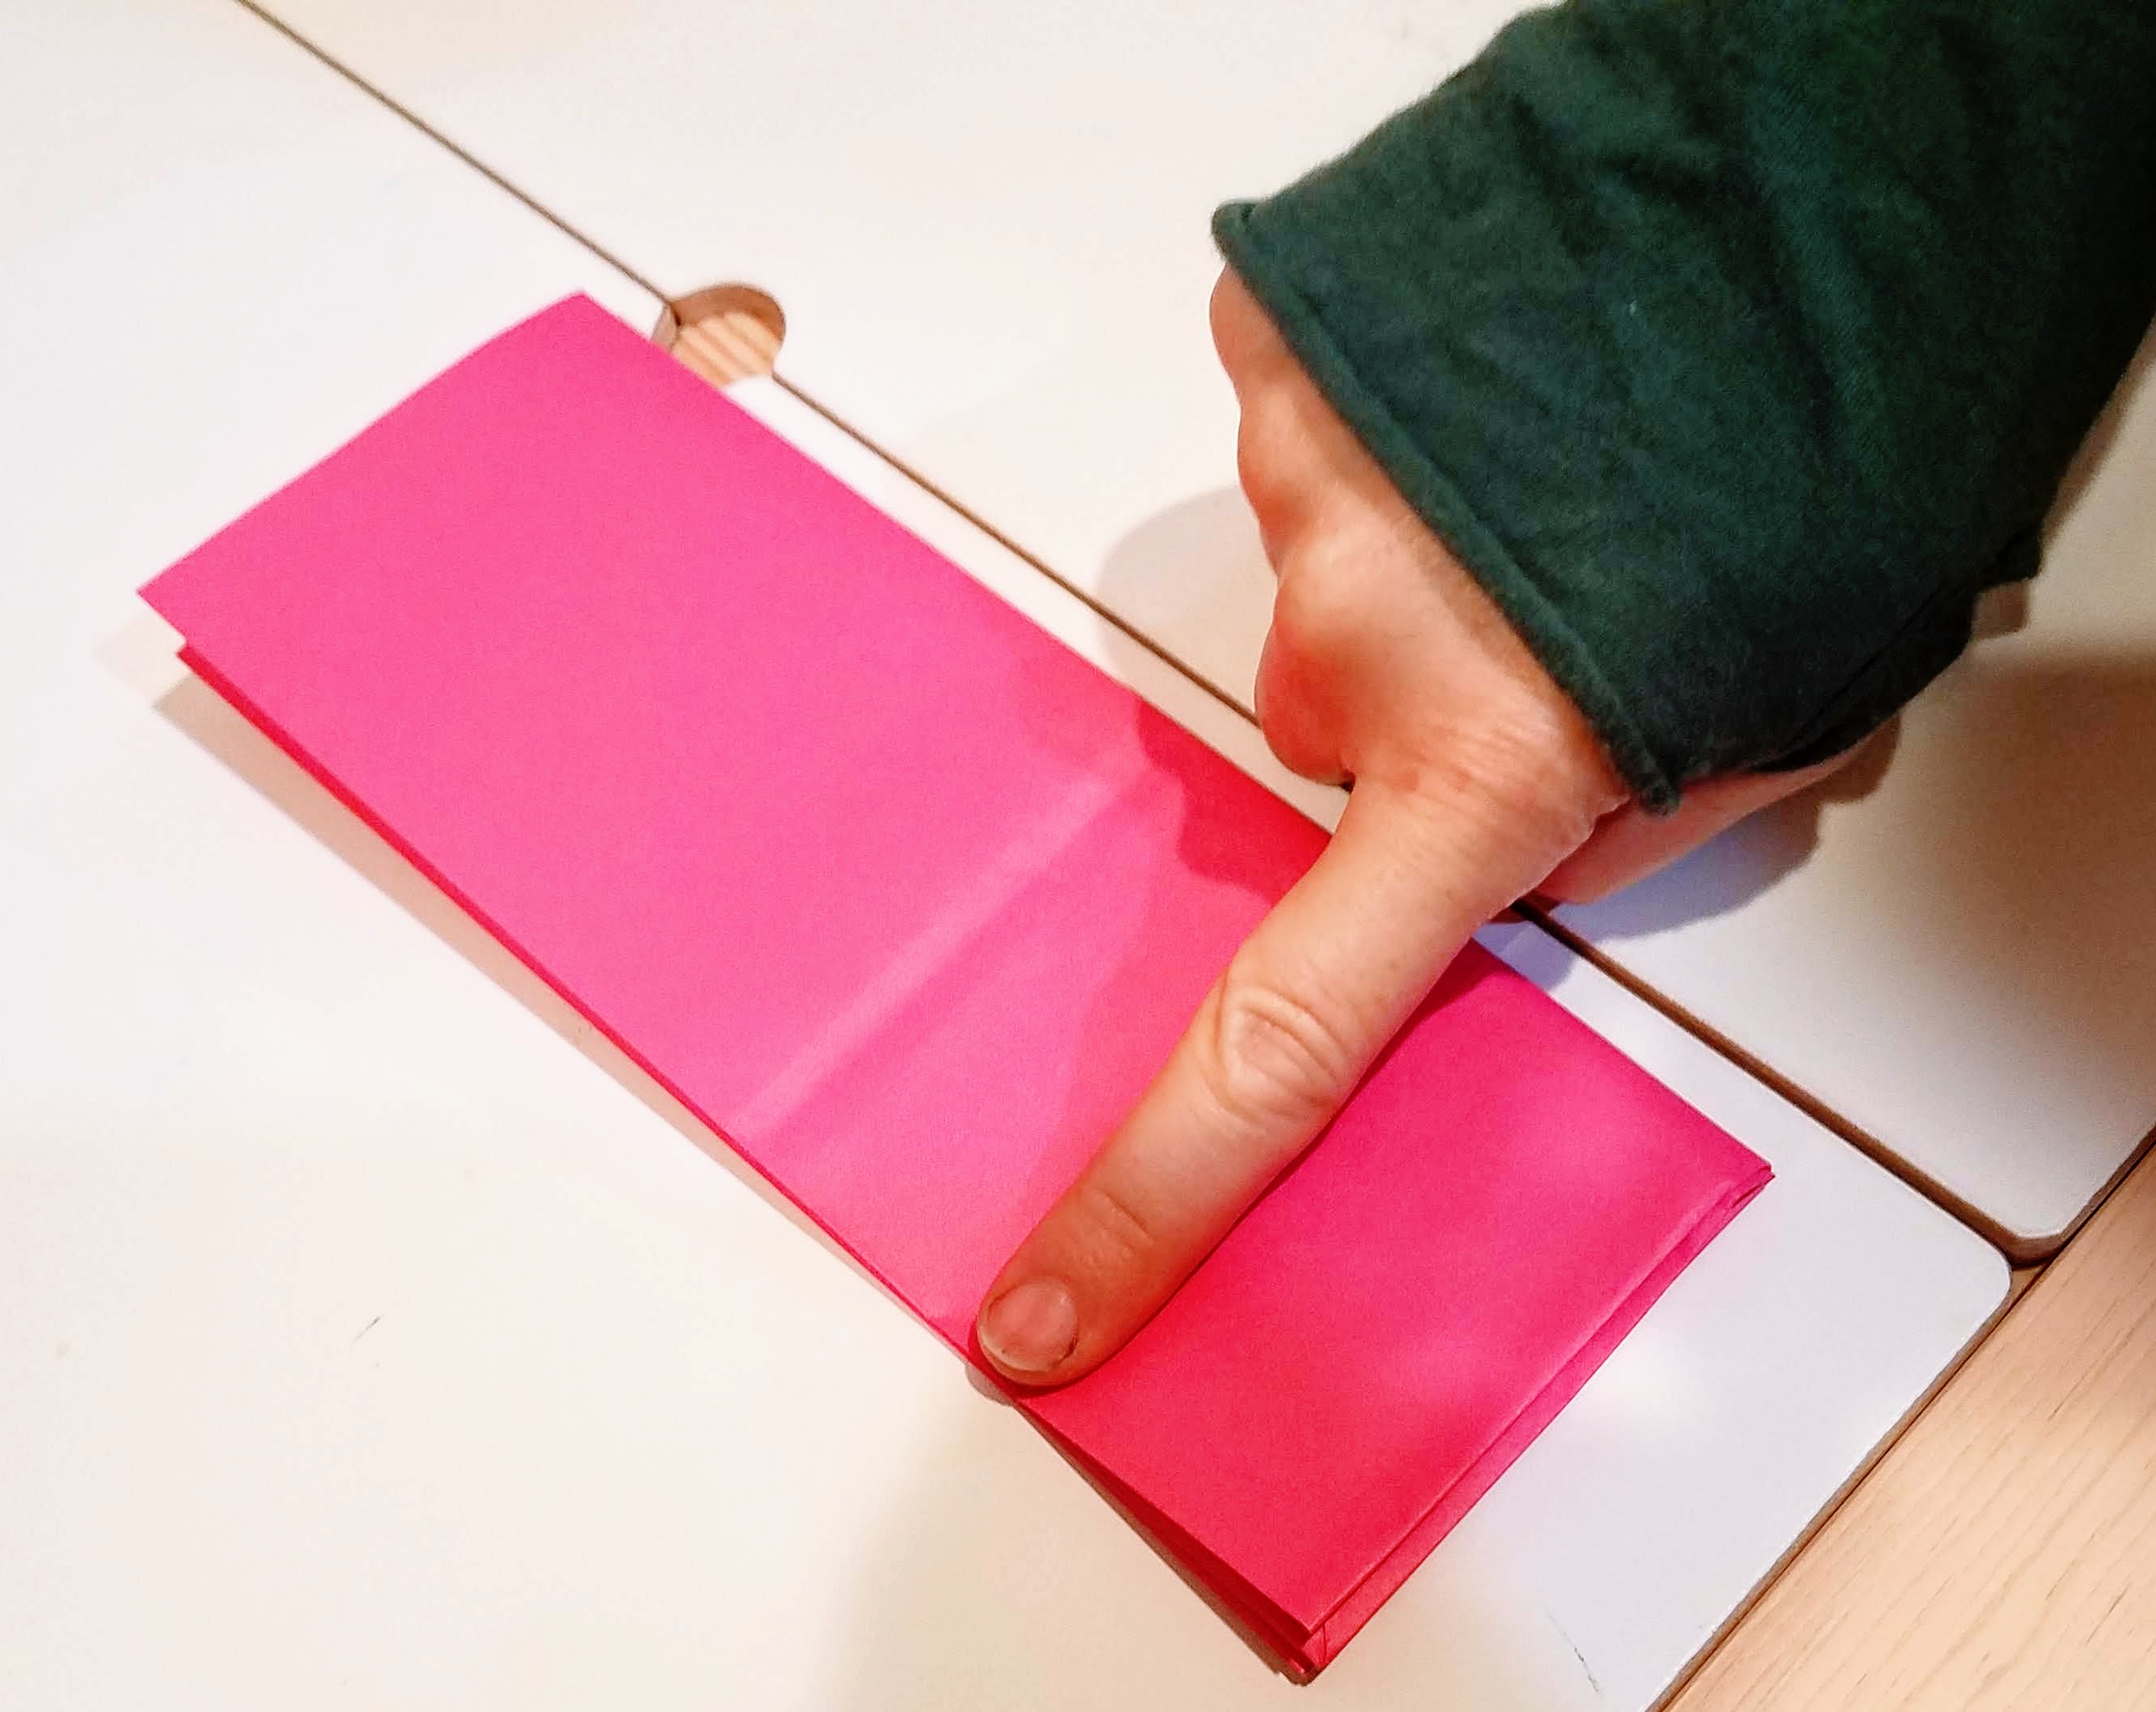
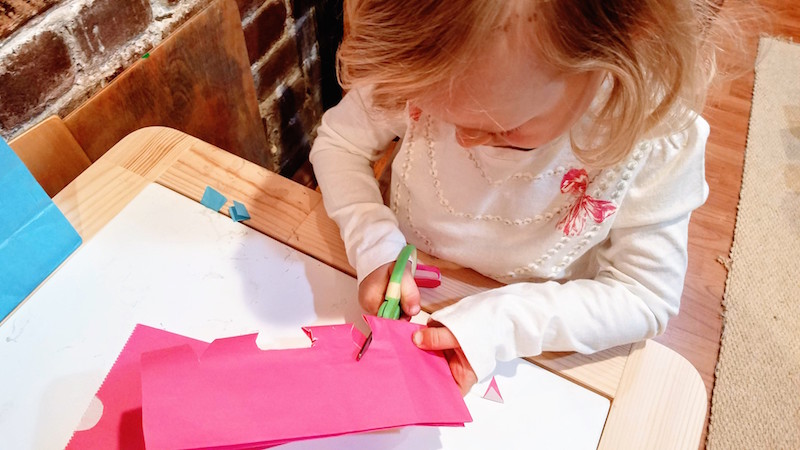
4) Now we’re going to make some cuts in the bag, much as you would do if cutting out a paper snowflake. You will be making these cuts along the folded center line. Important – make sure not to do any cutting below the crease my finger is marking in the picture below. If you cut lower than that crease, you’ll end up with shapes cut out in the base of the lantern. (Not the end of the world, but if this happens, you’ll need to add additional paper to cover up the holes and support the candle inside.)
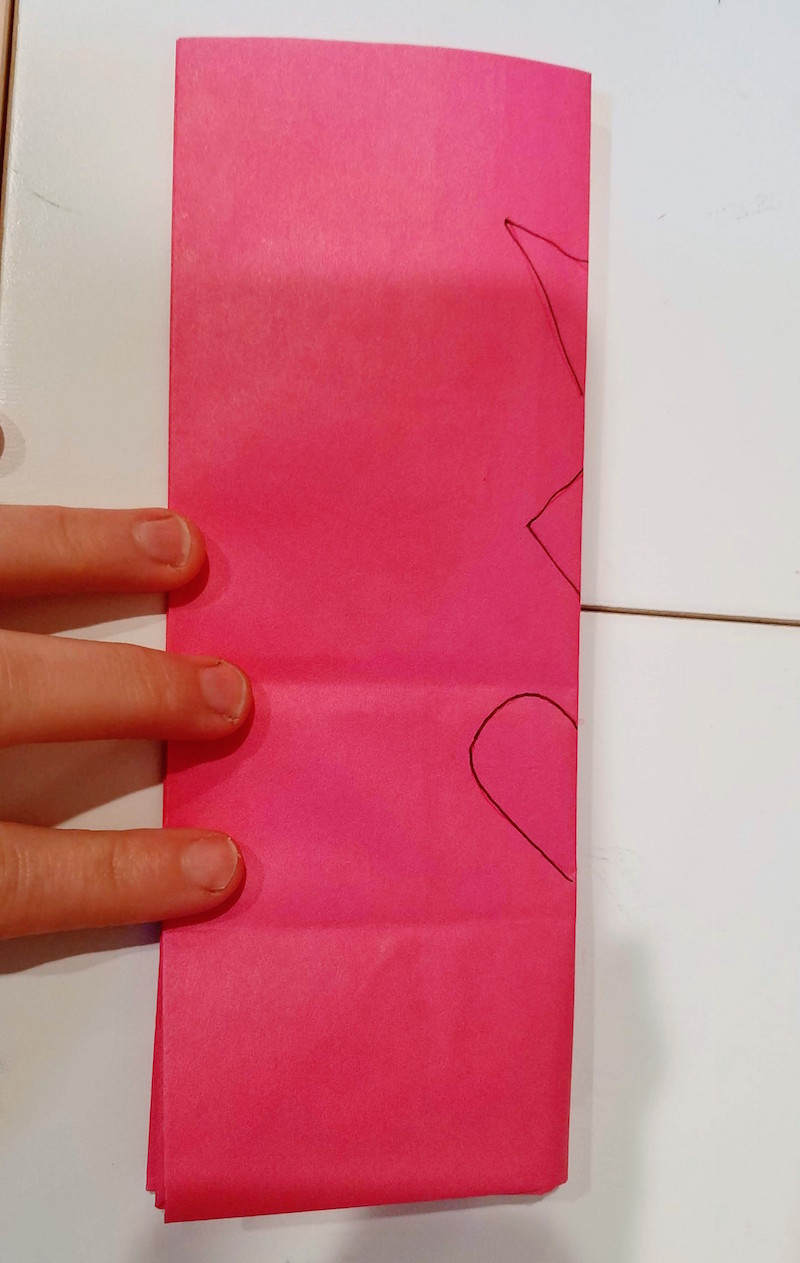
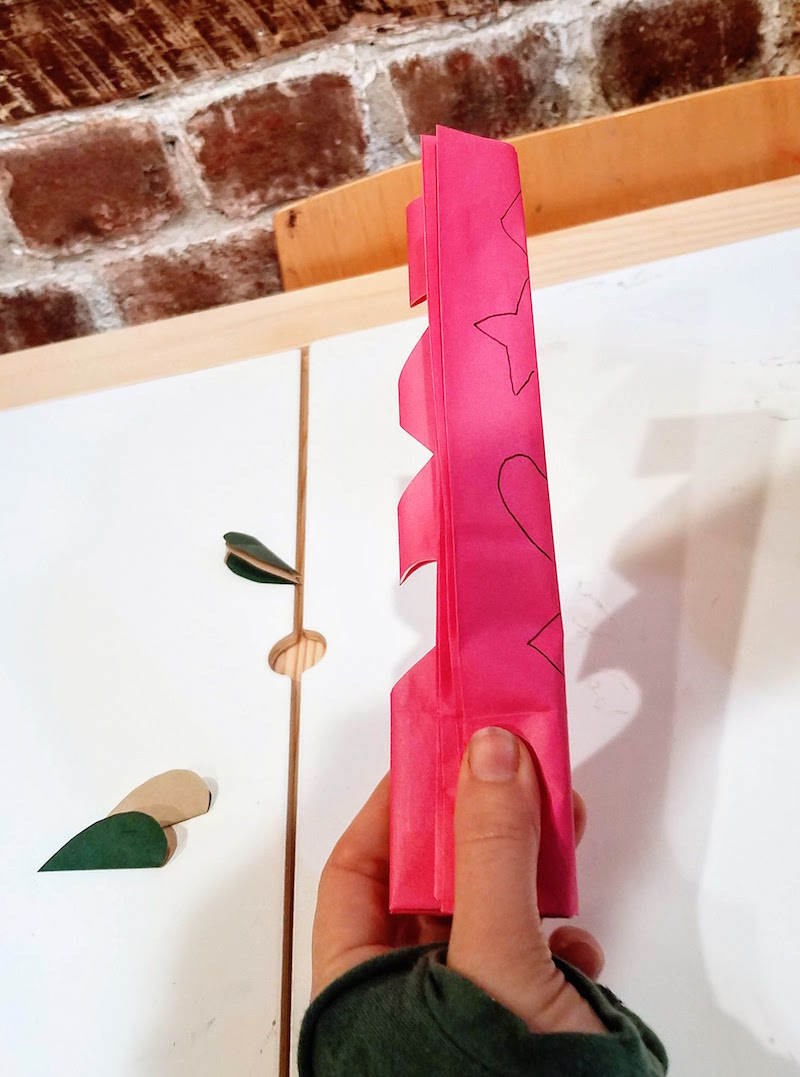
5) Prepare to make your cuts by drawing some shapes along the crease, as I’ve done in the picture below. Make sure you’re drawing them along the fold you made when you folded the bag lengthwise. Then cut them out!

6) Open it up and see how it looks!
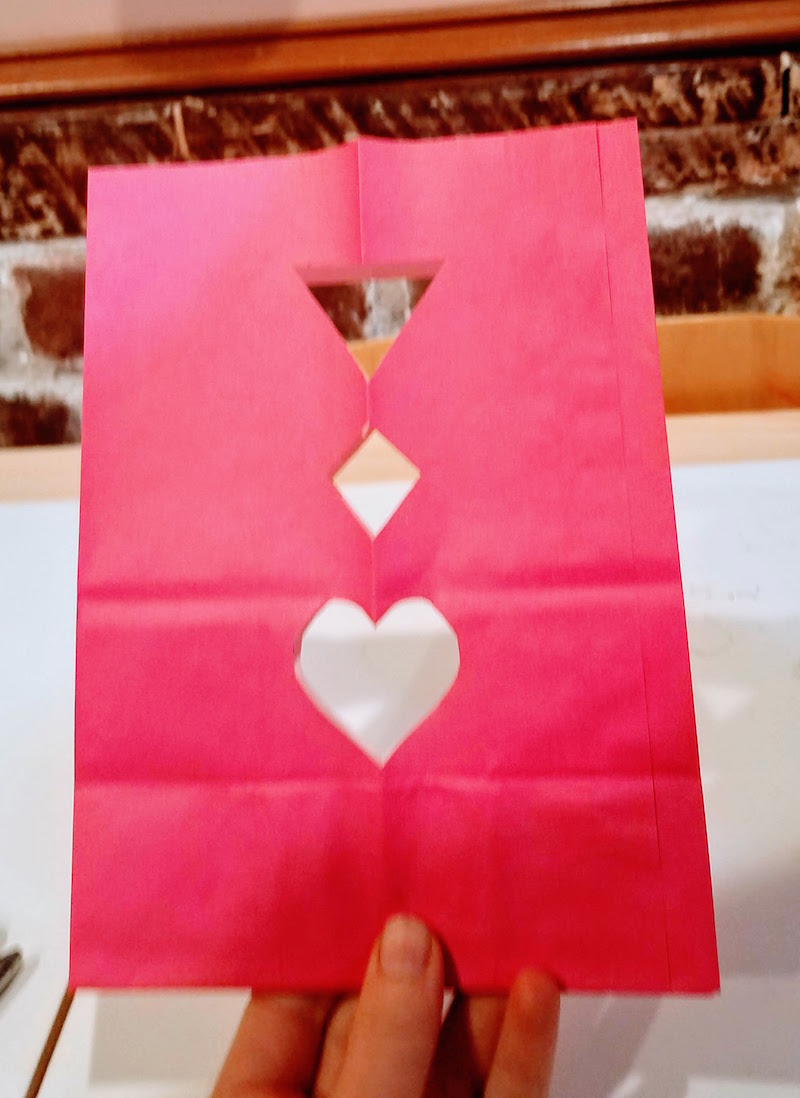
7) If you want to get fancy, you can also make one more fold, and cut out a few more shapes along that fold, too. Here’s a pic of that step, and also what it looks like when you open it up afterwards!
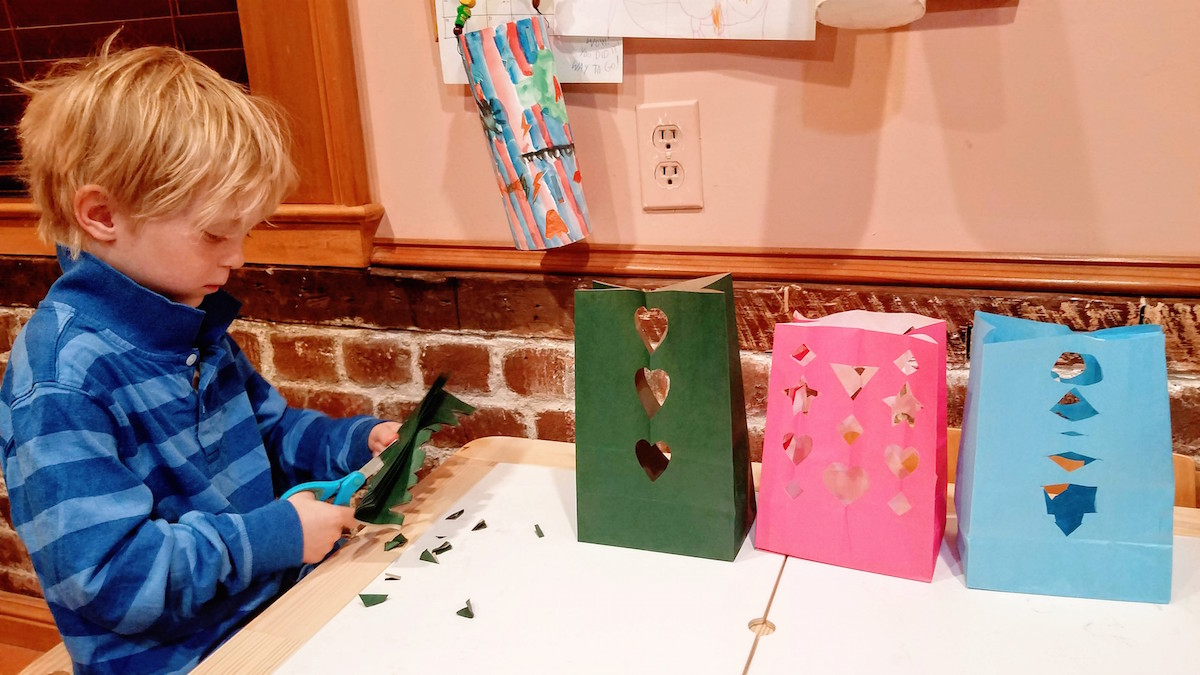
8) Now we’re going to add the tissue paper, which is going to cover the cutouts you made. Start by cutting two pieces of tissue paper, each a little smaller than the large sides of the bag where you made the cutouts.
9) Lay the bag on its side and open it up. Use a glue stick to add glue on the paper bag around the cutouts.
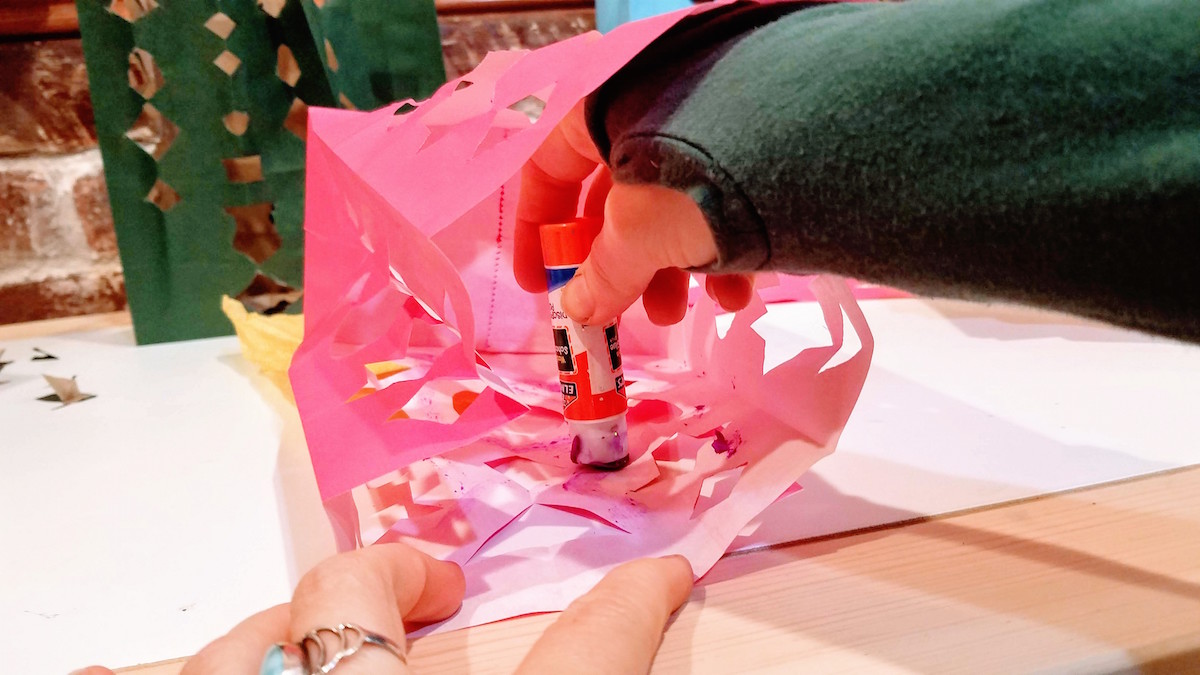
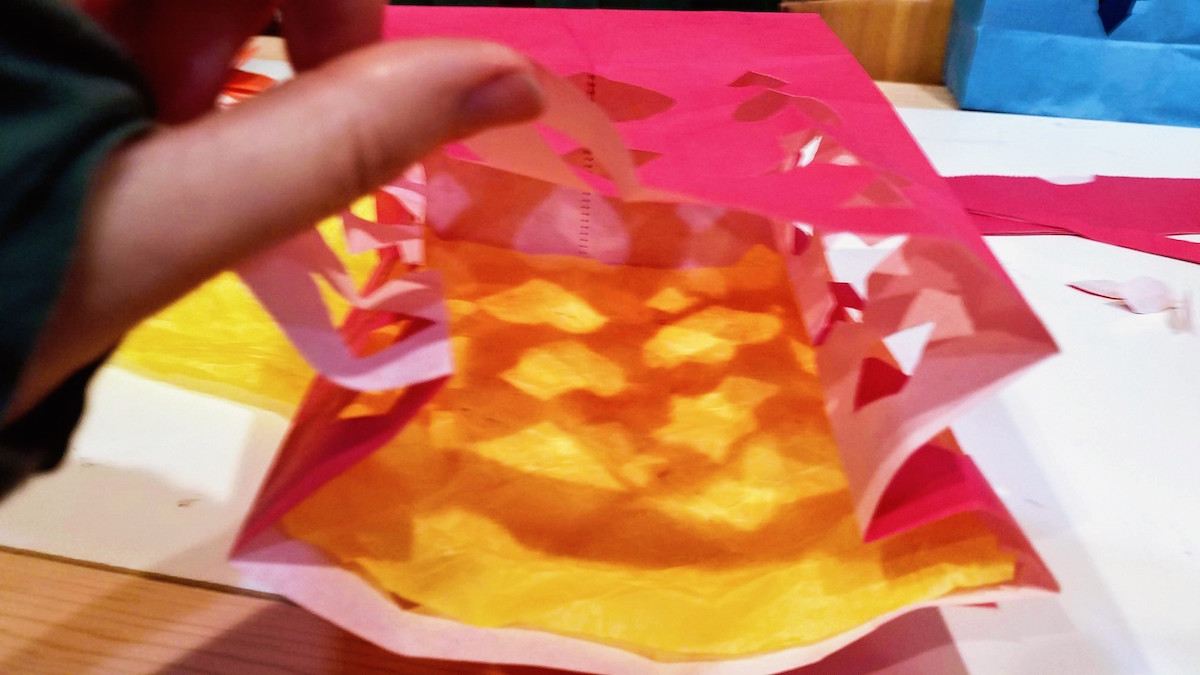
10) Add the tissue paper inside the lantern, flattening it down so that it will stick where you’ve added the glue. If the corners or edges stick up a little inside the lantern, or it needs any additional help to stay down anywhere, you can add a little scotch tape.
11) Next, we’re going to reinforce the top of the bag, so that the handles will have something more solid to be affixed to than just a single layer of paper. tearing the bag. You can do this with sturdy packing tape, or by adding a little extra paper or cardstock. Add a small panel of tape or paper on the inside of the bag. The panel needs to be around 2 inches by four or five inches, and to be about 1/4 inch from the top of the bag. The tape is a little hard to see, since it’s see through, but it’s where I’m pointing in the picture below.

12) Punch two holes on each side of the lantern, for a total of four holes in all. The holes should be around 3/4 inch down from the top on both of the large flat sides, and should be spaced around three – four inches apart. Make sure that they’re far enough down that the holes are being punched through the area you just reinforced with tape or paper.

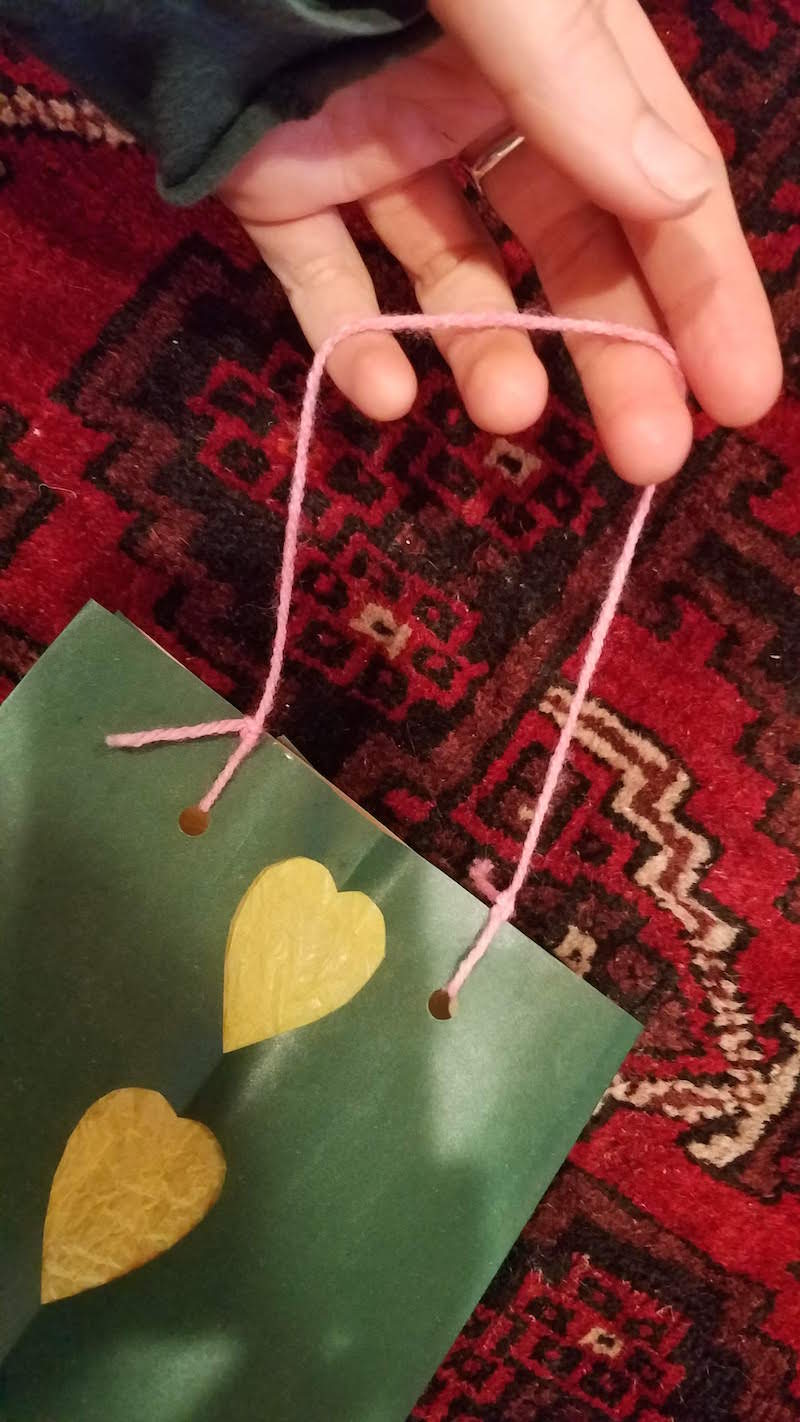
13) Add your handle. For each lantern, you will need to cut two lengths of string or wire, each around a foot long. If using yarn, tie one length of yarn to the two holes on one side, and the other length of yarn through the two holes on the other side. If using wire, begin by forming the wire into the shape of an arc. Then stick the ends of the wire through the holes so that they stick through around two inches, bend the small ends up and wind them back up around the length of wire.
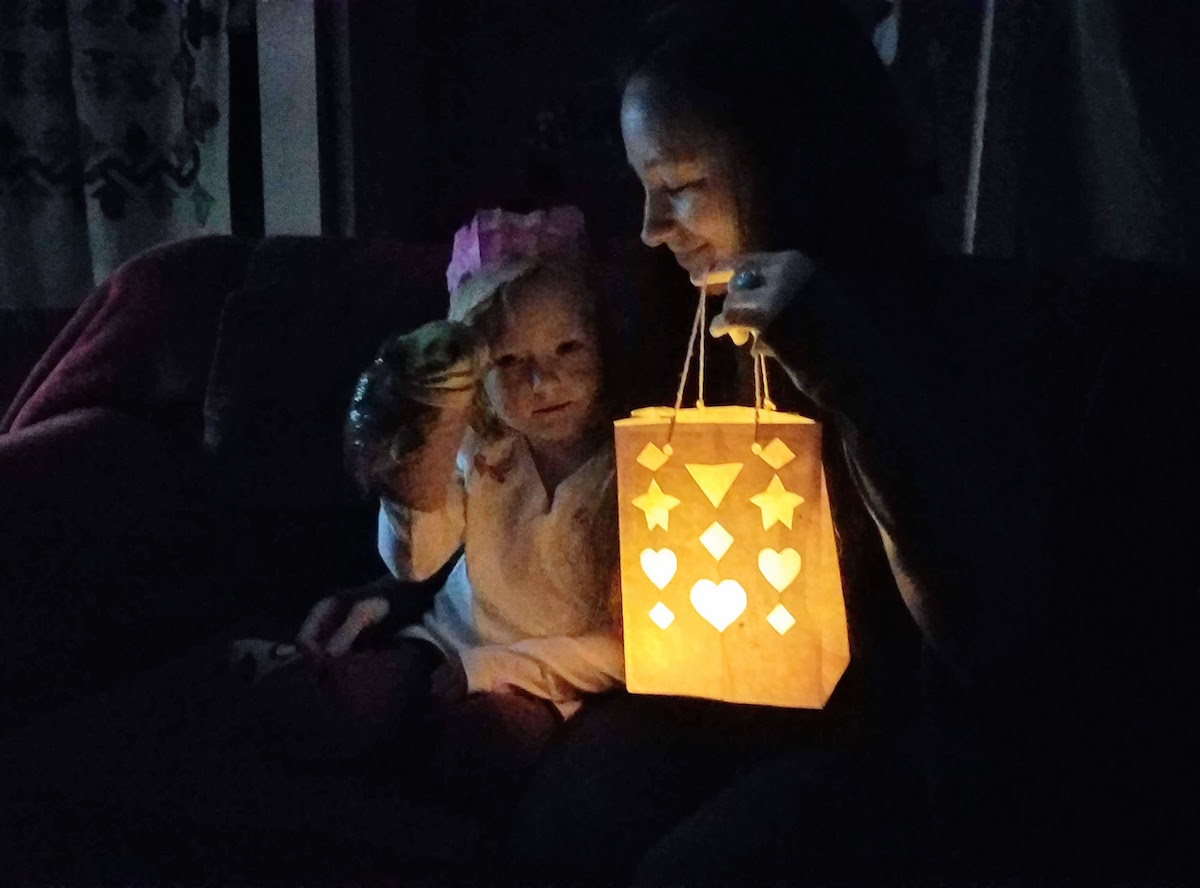
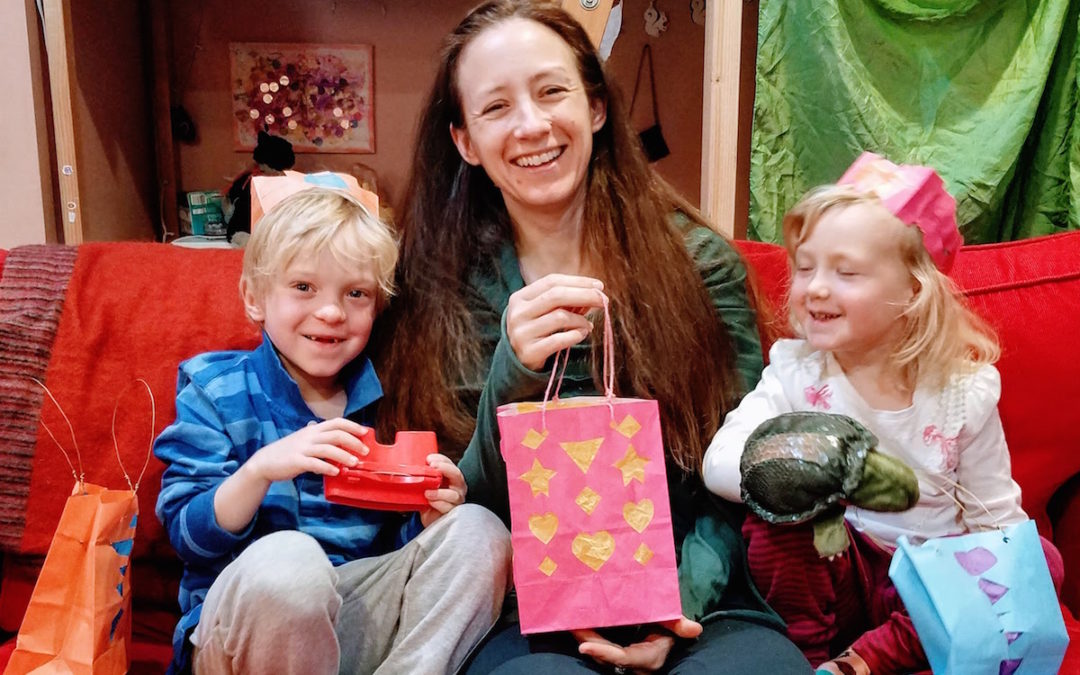
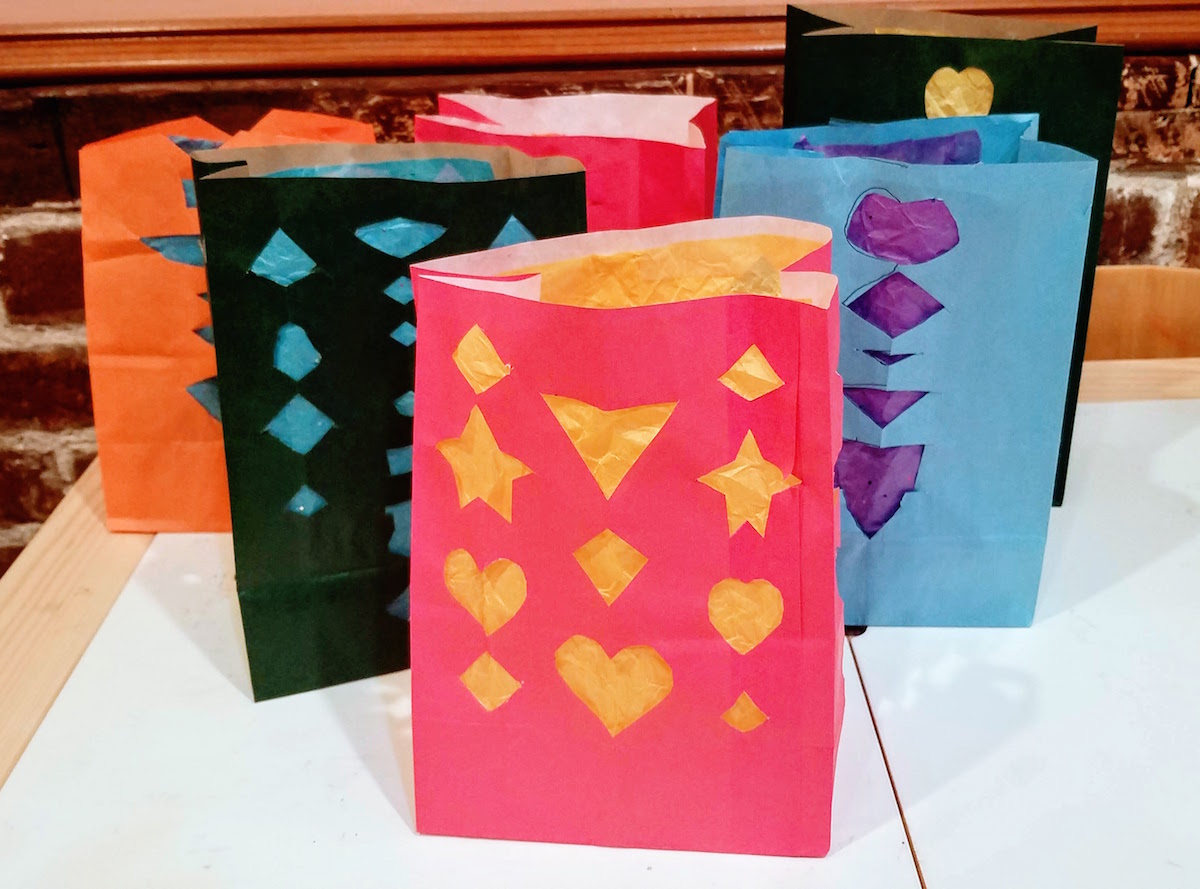
14) Enjoy your beautiful finished lanterns! Put an LED candle in each one. (You wouldn’t want to use flame with these, since they’re paper.) Turn off the lights and watch them glow. FYI, the picture below was taken with just one tea light in the lantern. So as you can see, they’re pretty bright, once you turn the lights out.