
If you know my son, Ember, you know that he loves cats. When he was little, there were times when his main communication was in meows.
Lately, we’ve been housebound, owing to some medical issues in my family. I struggle when we’re housebound. Nature and community– both of these things are my solace, and illness makes it harder to access both of them. It’s hard to bear the confines of four square walls.
Here’s a little project that helped to cheer us up yesterday! It’s a little knitted cat you can make in a day, even as an inexperienced knitter.
This project comes from a wonderful book, Toy Making with Children, by Freya Jaffke. I highly recommend this book. It’s full of great ideas– beautiful, handmade playthings you can make with fabric, wool, wood, knitting, all natural materials. Waldorf toys can be very expensive. Why buy them when you can make them yourself, and often involve your children?
The instructions below come from that book, with a little annotation by me.
MATERIALS
- Wool knitting yarn in a kitty color
- Unspun sheep’s wool for stuffing
- 2 knitting needles
- Sewing needle and thread.
- Crochet hook for binding off, if you so choose.
- Embroidery floss for eyes and nose, and embroidery needle.
INSTRUCTIONS
You only need one stitch for this project, and it’s the most basic knitting stitch– garter Stitch. Knit each Stitch across every row.
You will make three separate rectangles, and use these to create the body, head, and tail respectively
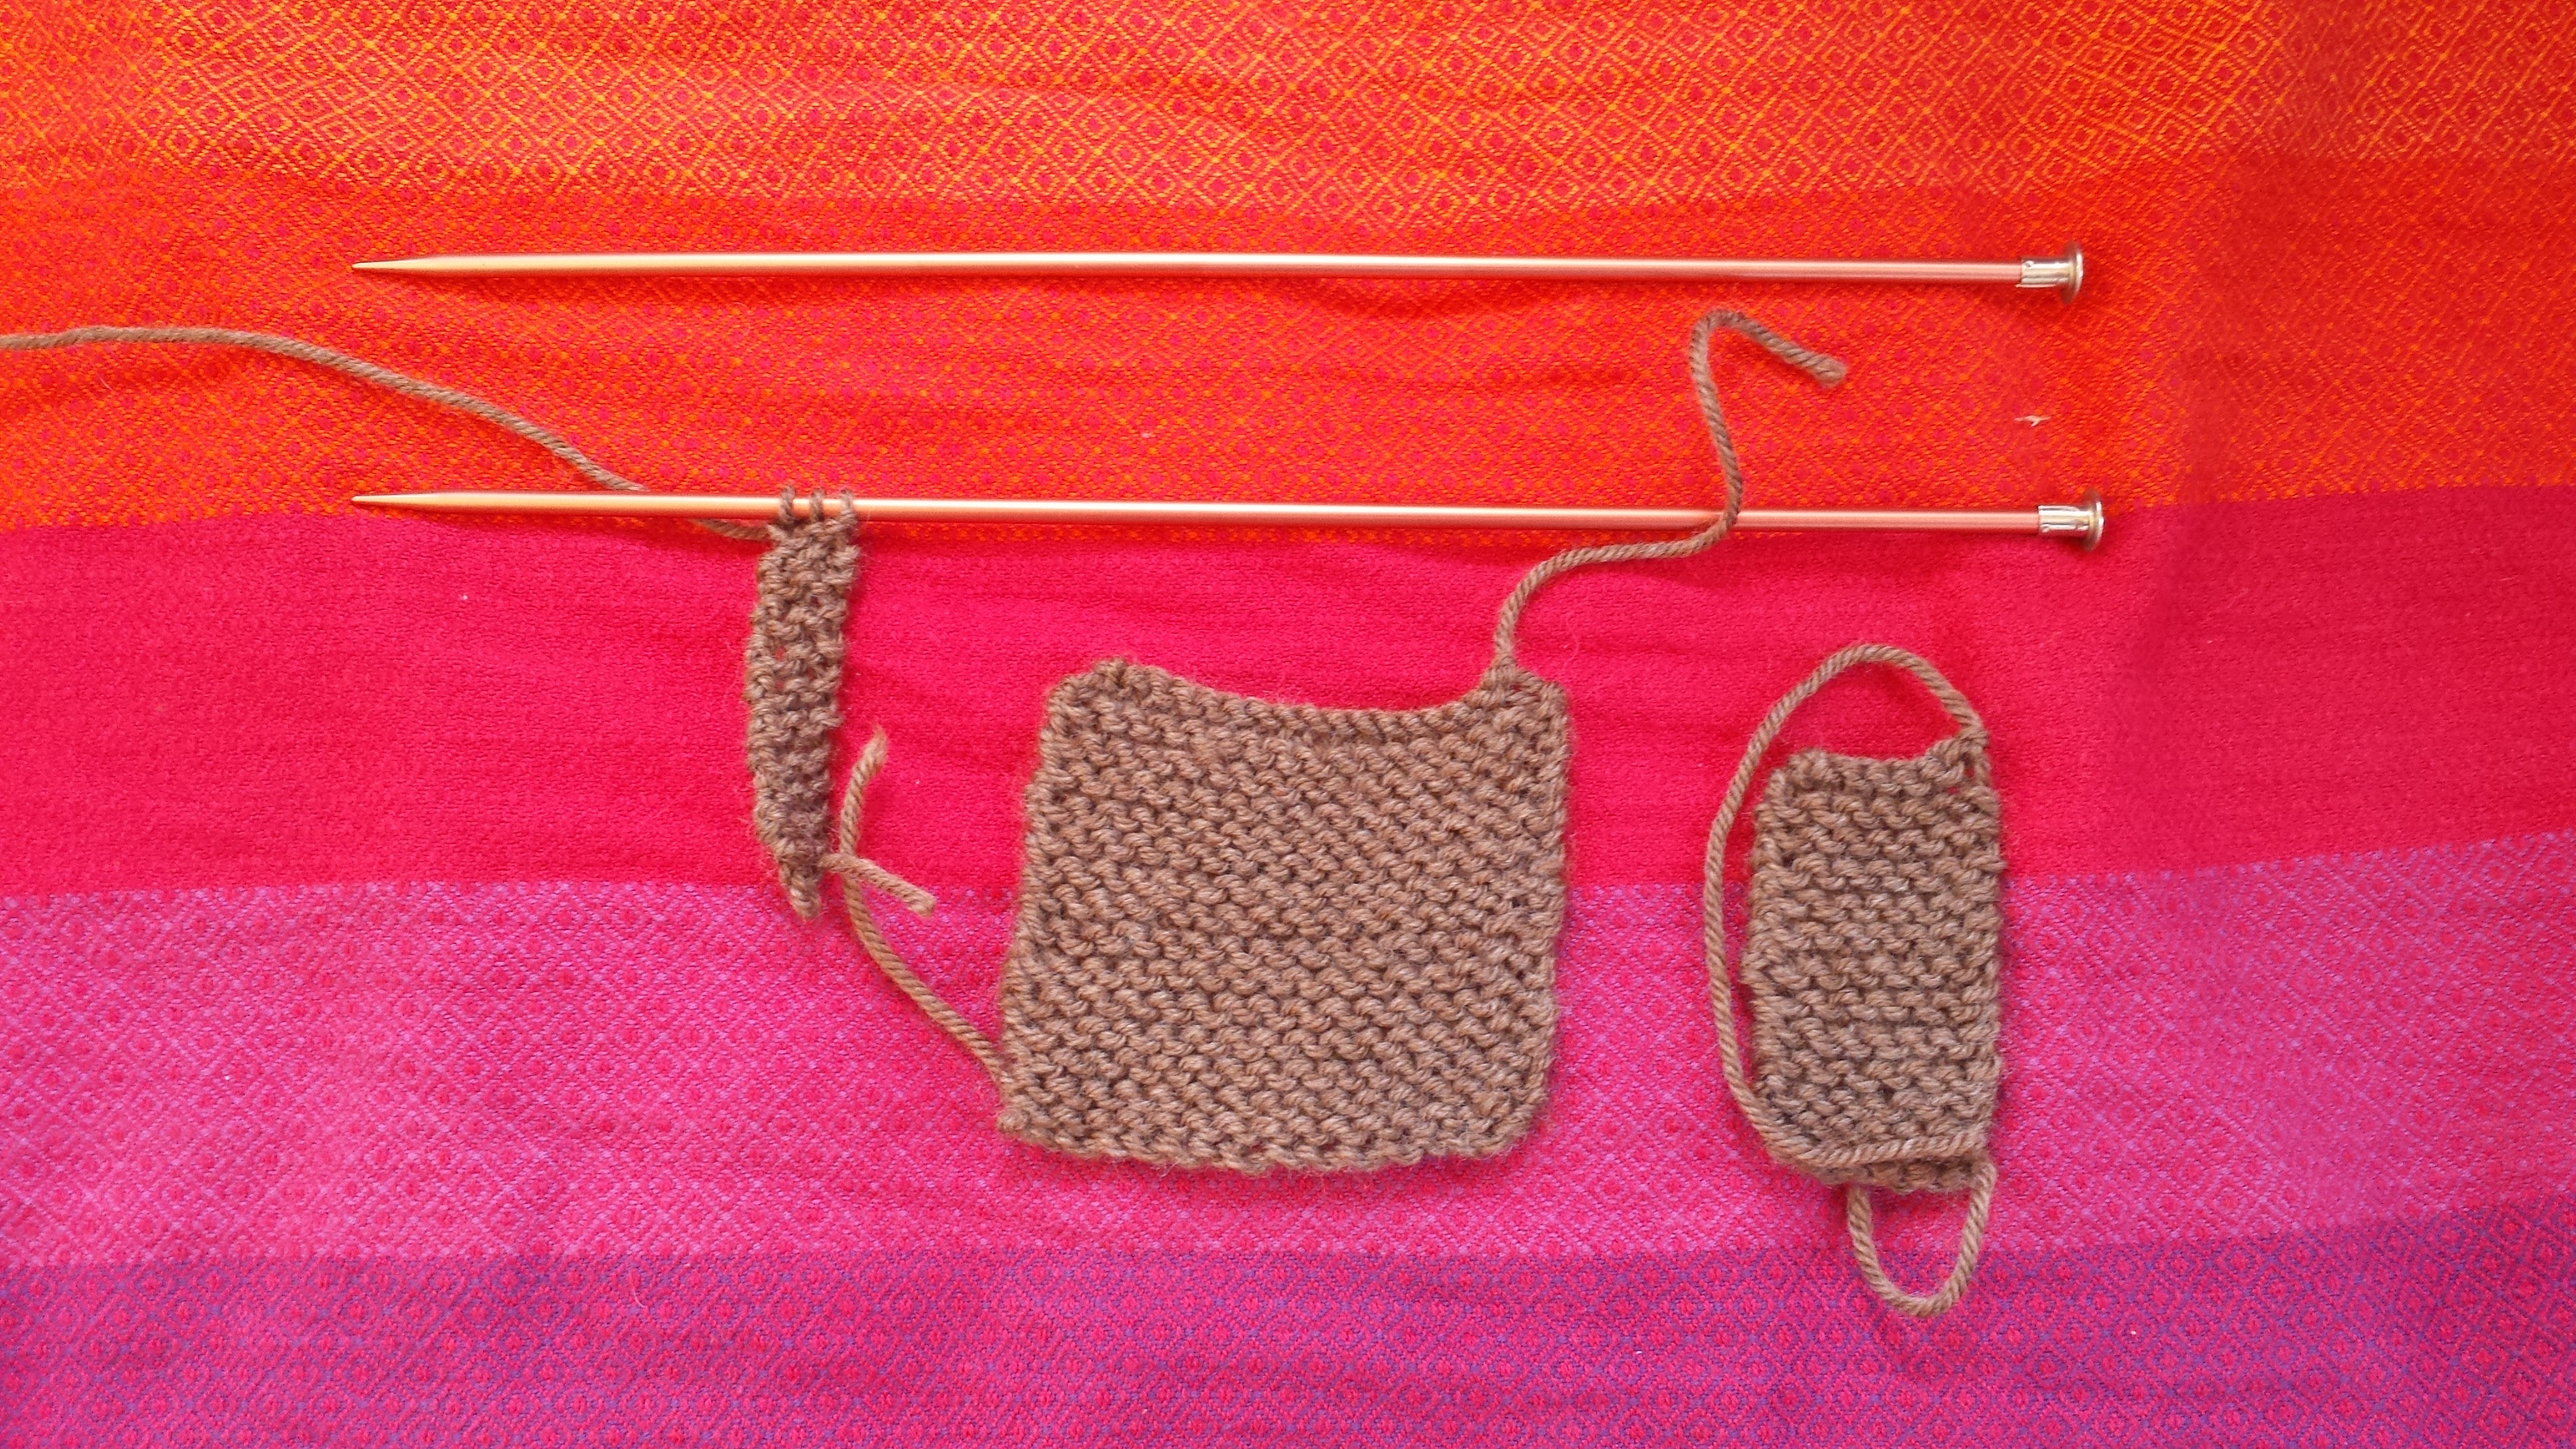
Three rectangles that will become tail, body, and head.
BODY
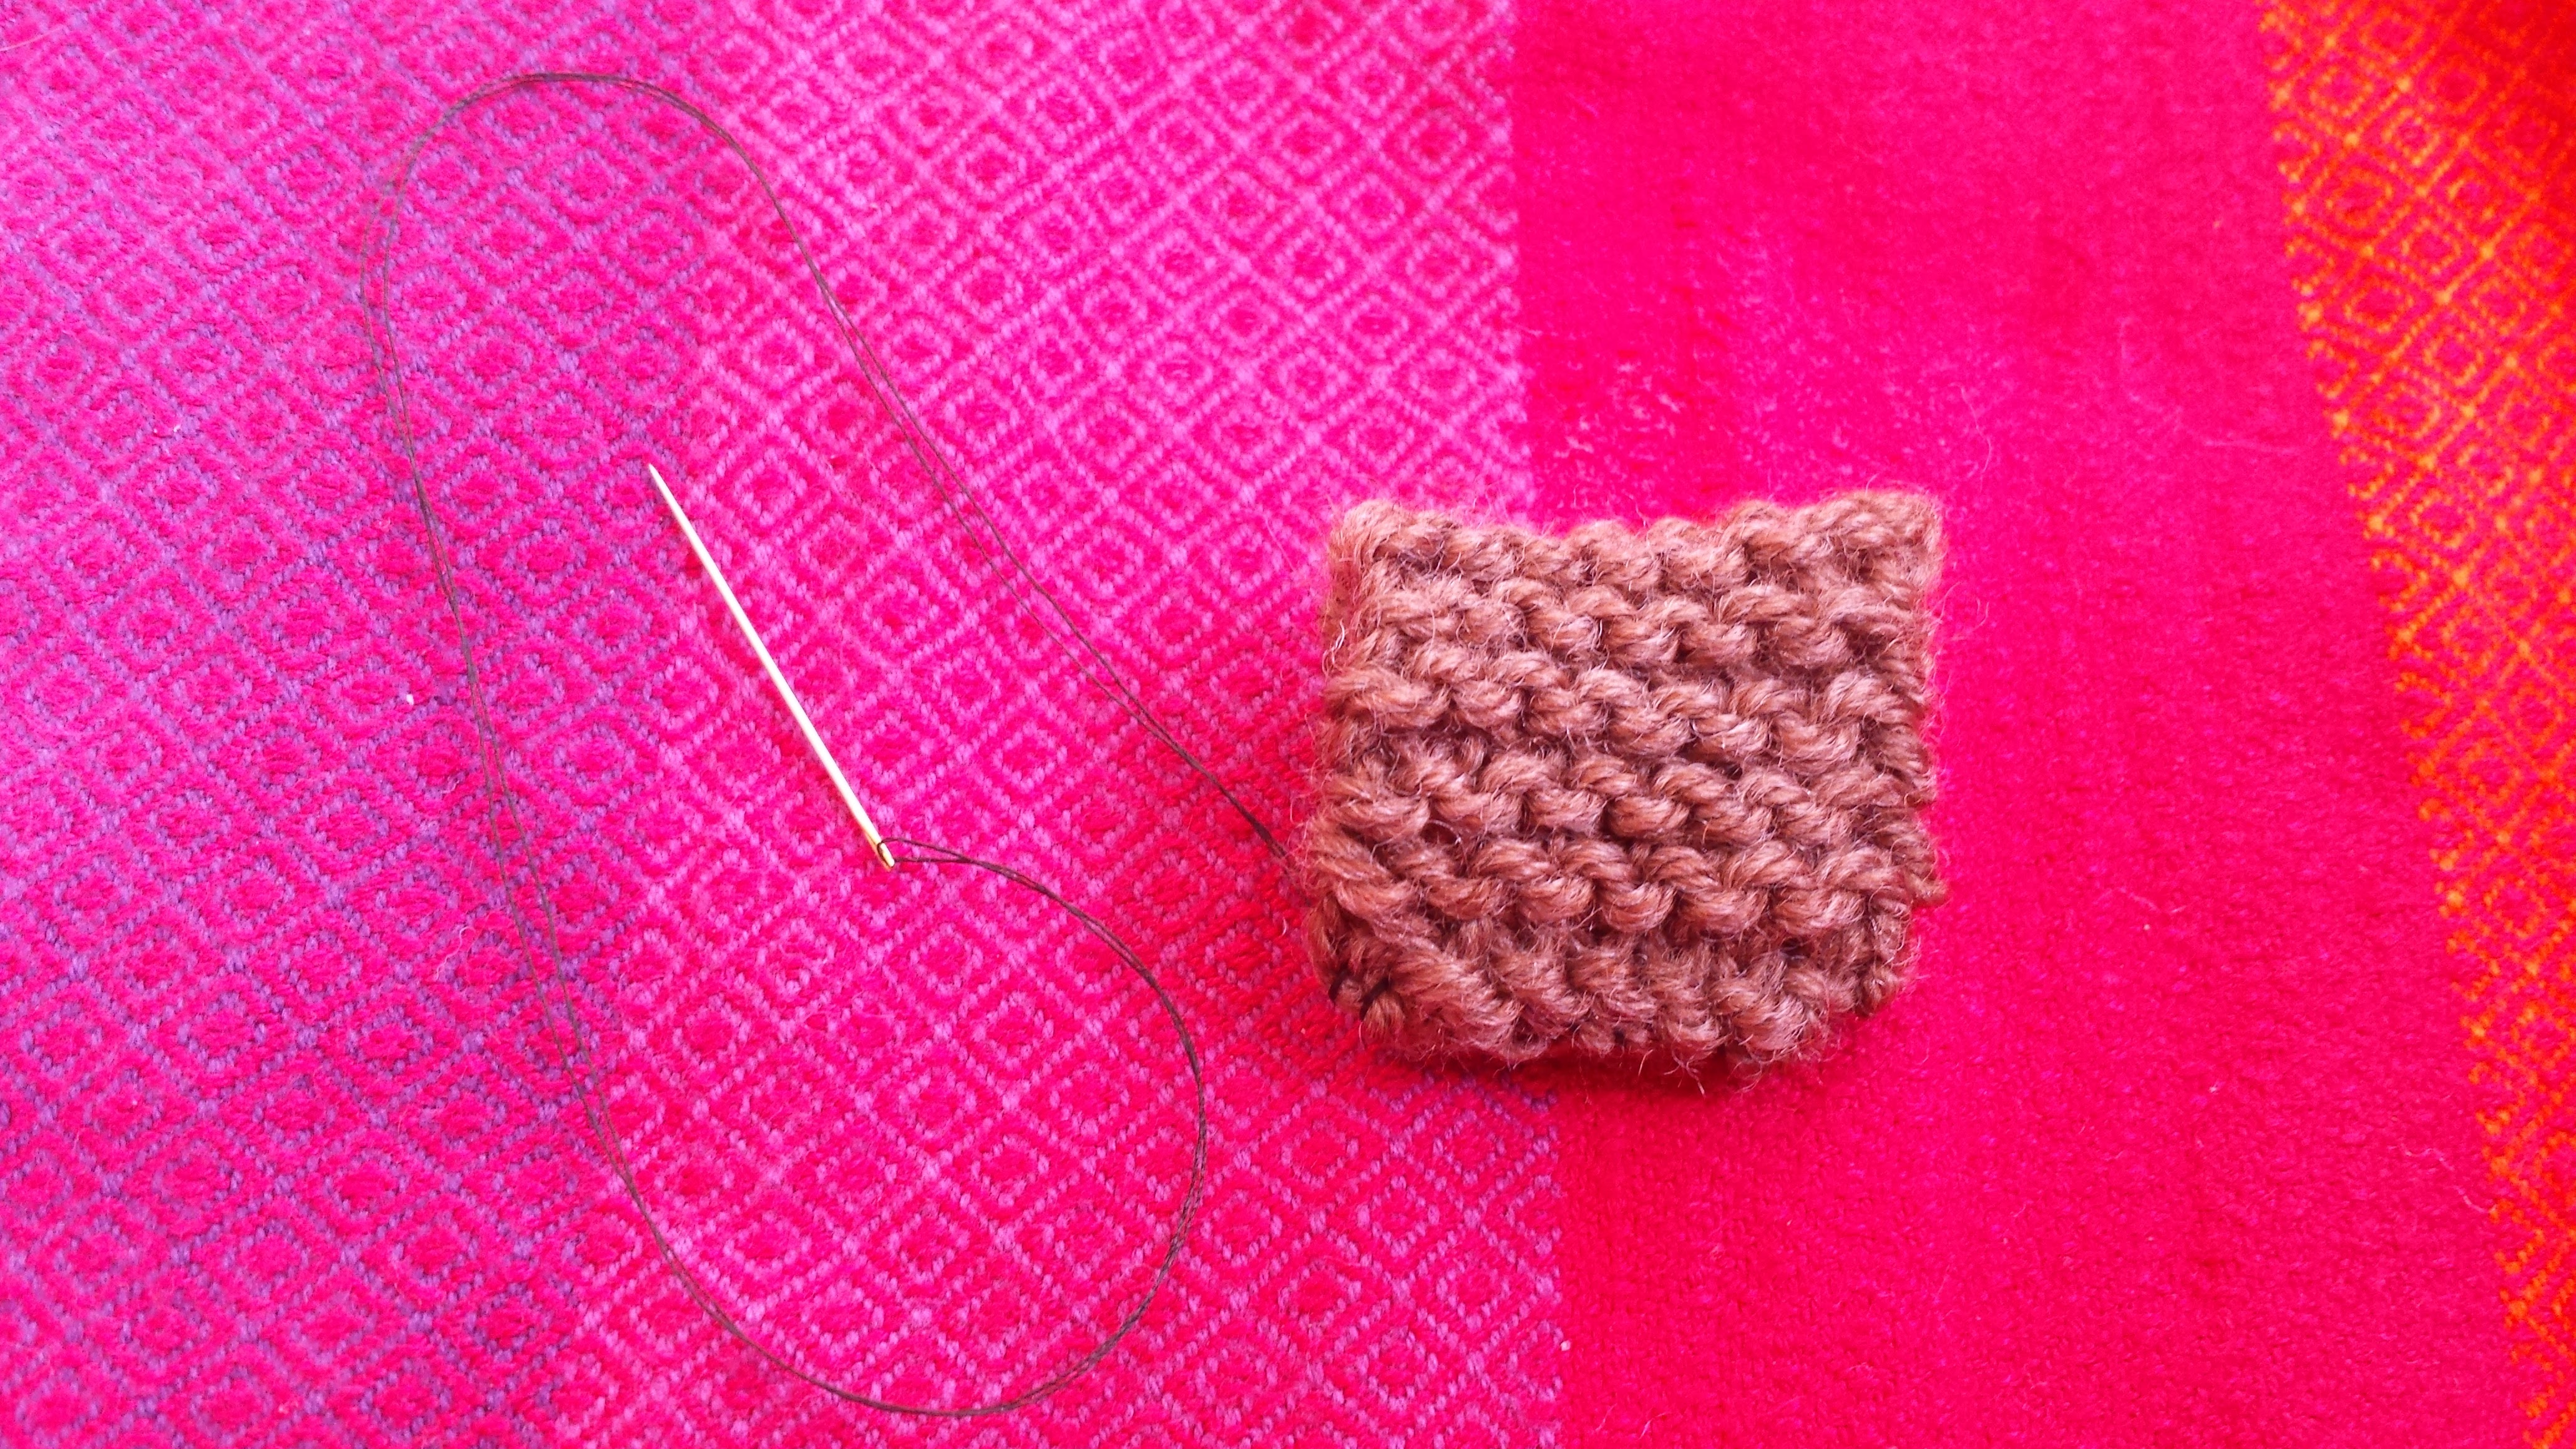
Cast on 16 stitches.
Knit a rectangle that’s slightly shorter than a square. About 24 rows.
Bind off the remaining stitches. I used the crochet hook to do this.
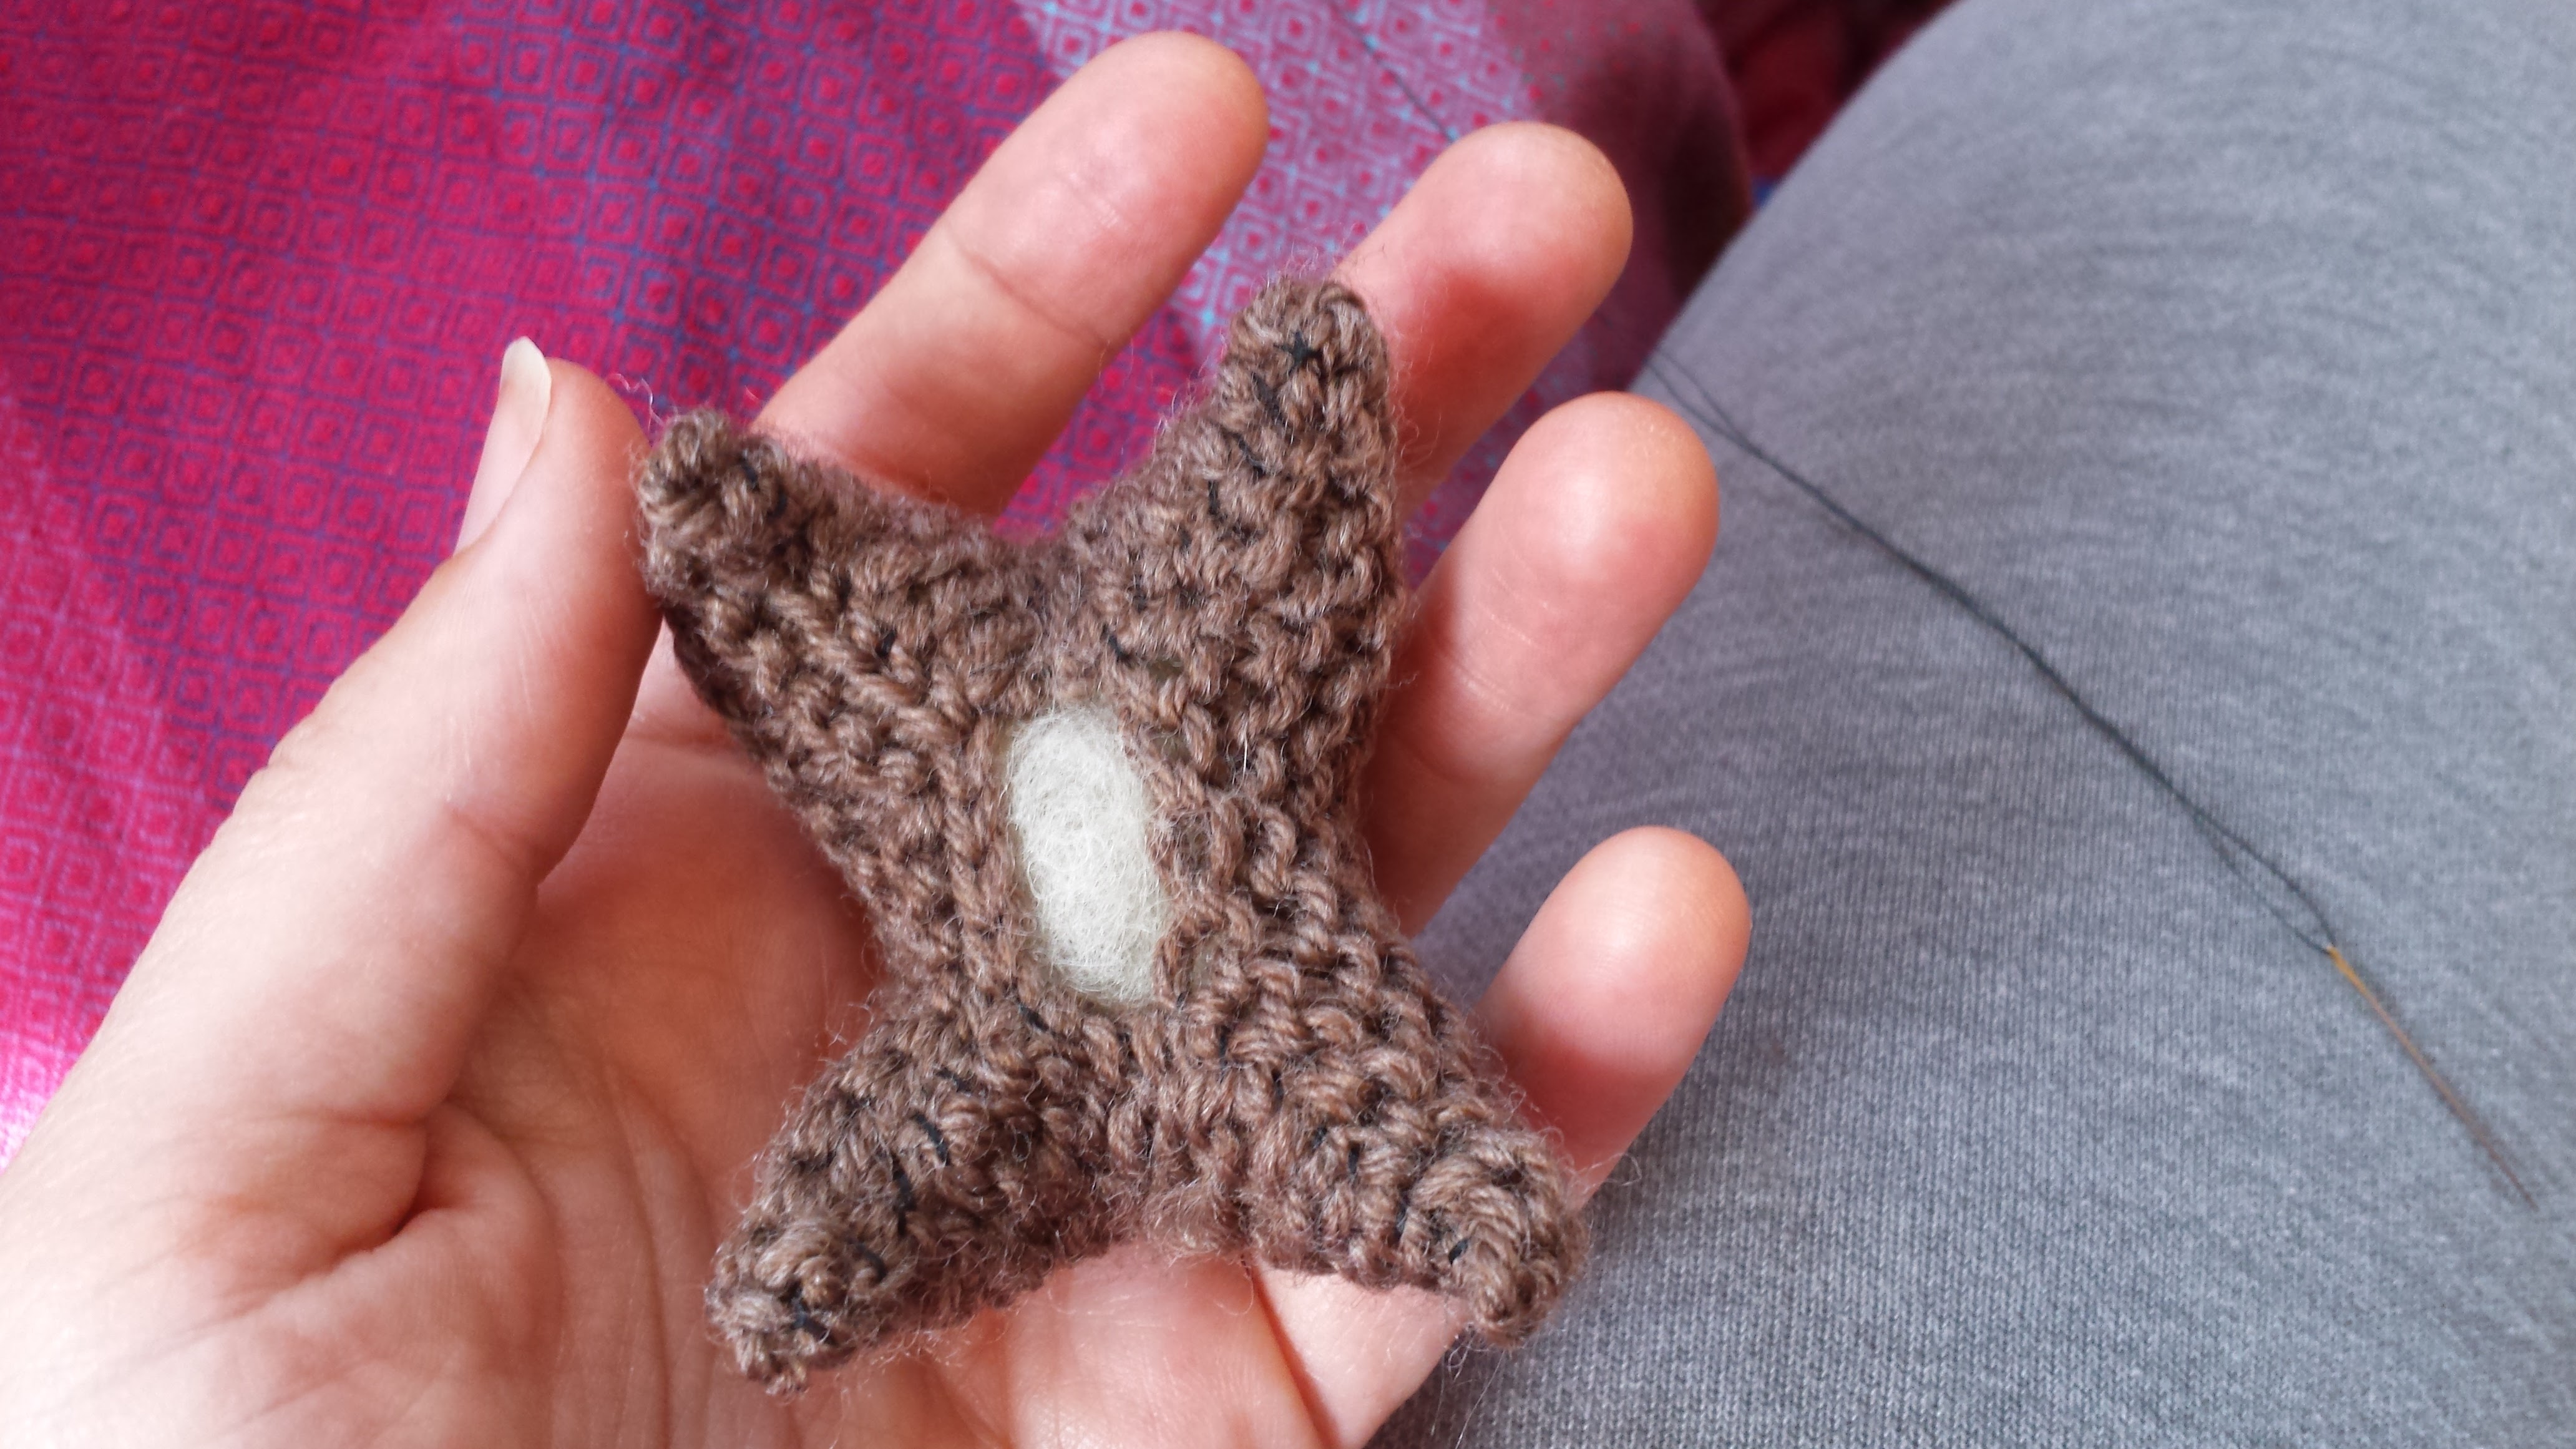
Sew each corner into a cone shape to define the legs. What you have will look a little like a four-legged starfish.
Stuff the body. (Little hands can do this!)
Close the stomach seam.
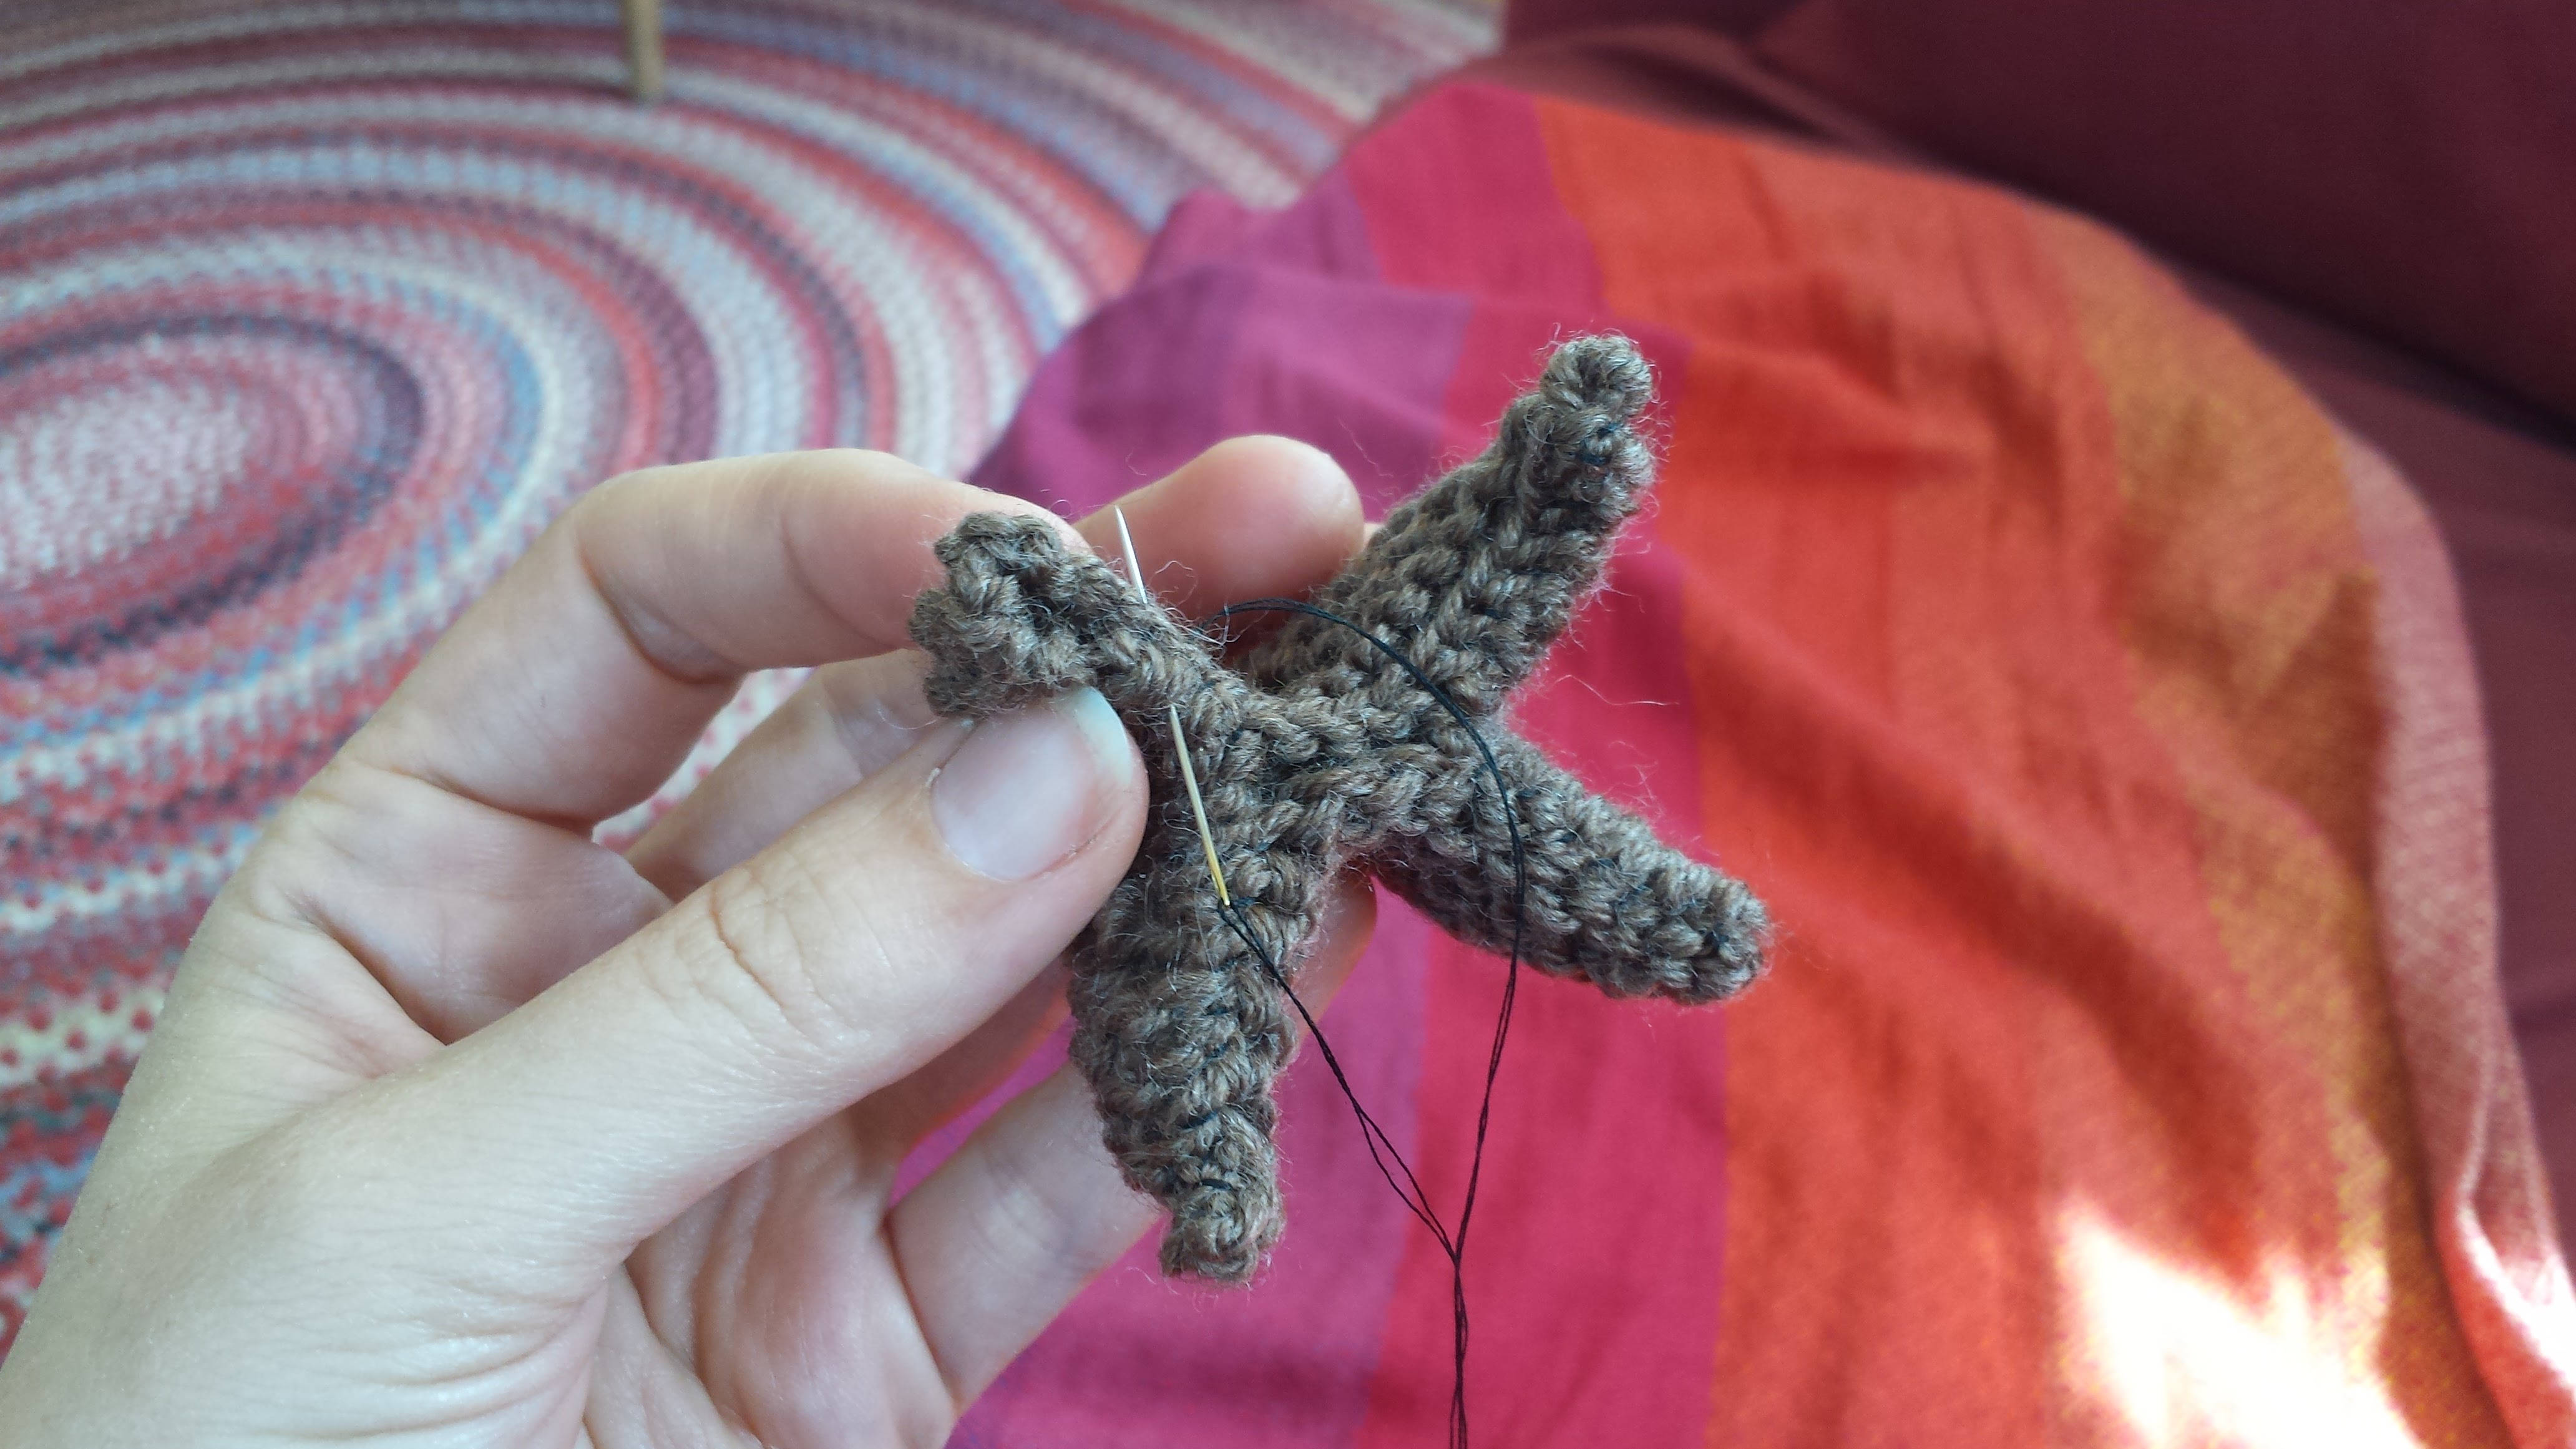
Defining the legs.
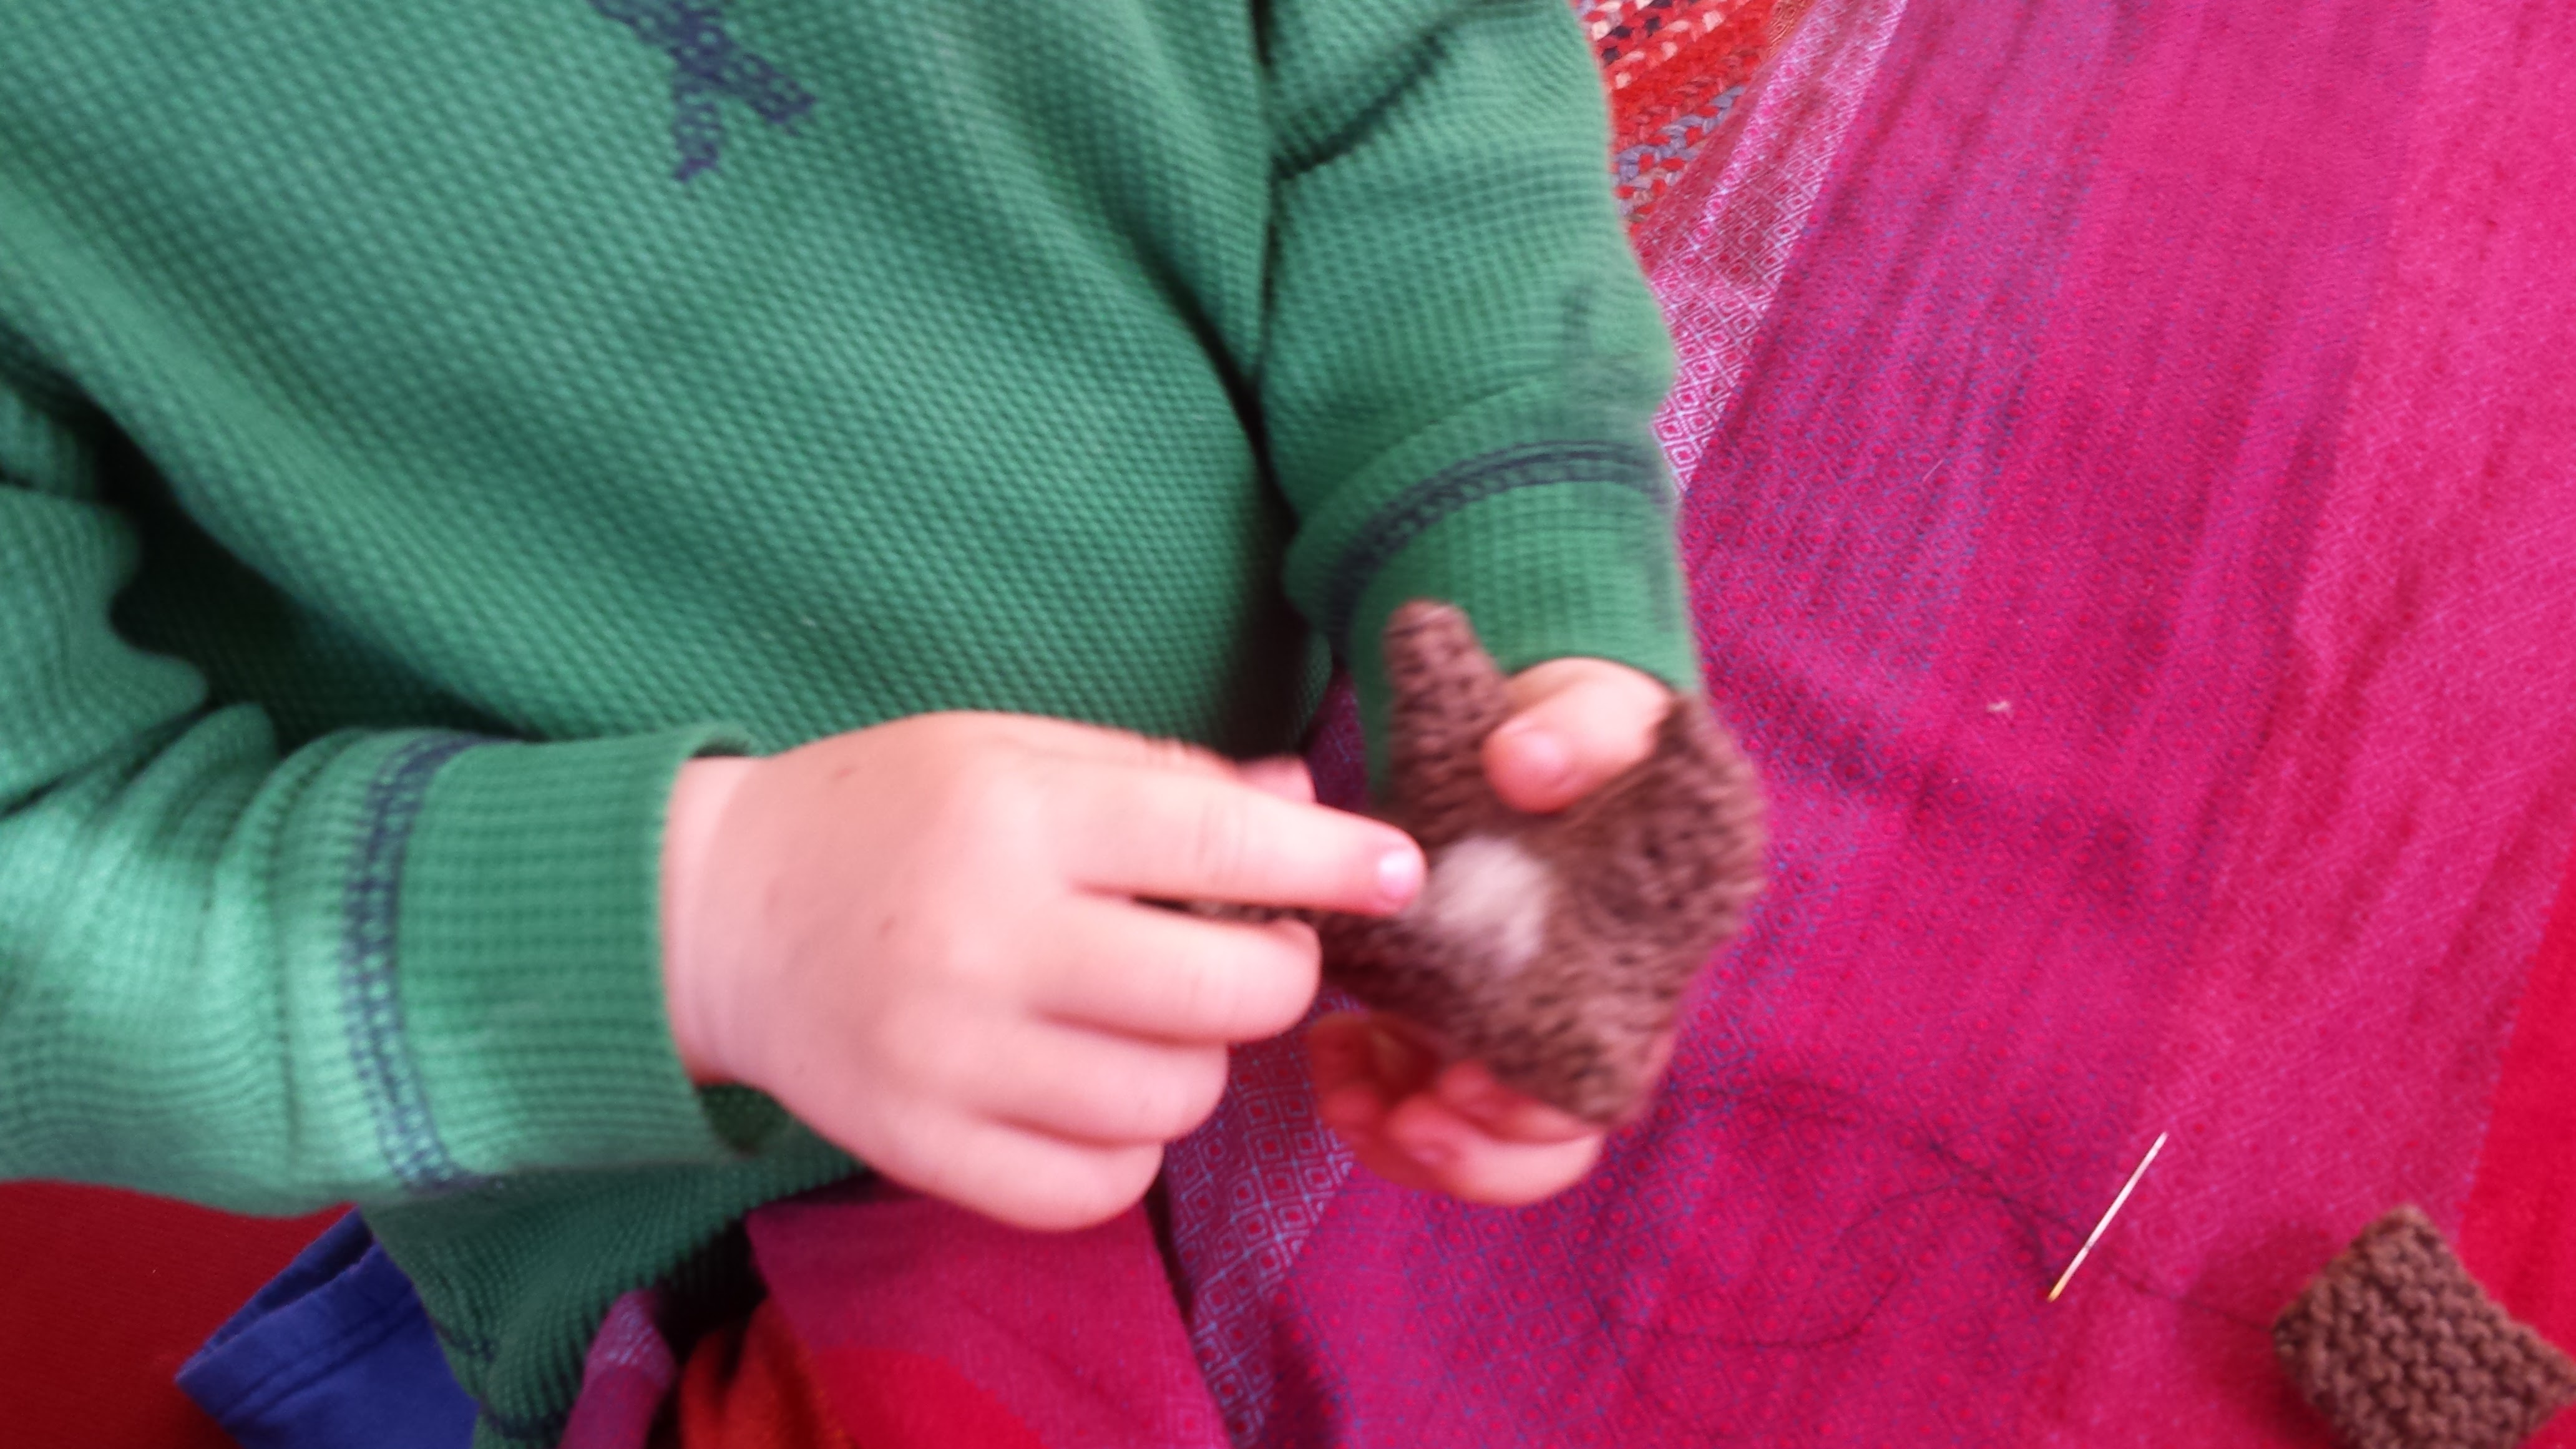
Stuffing the body– a great job for little hands!
The stuffed body.
HEAD
Cast on 7 stitches.
Knit about 20 rows. This rectangle should be twice as long as it is wide.
Fold it in half. Sew up two sides and leave the third side open. At this point, I also embroidered simple eyes and a nose. Stuff with wool, then close the final seam. You might gather the lower seam a bit so that the head is nice and round.
Use a few stitches to shape little ears.
Sew head onto body.
Here’s the head, pre-stuffing.
TAIL
Cast on 3 stitches.
Knit about 20 rows.
Sew together lengthwise, forming a tube.
Sew the tail onto the body, using strong thread and many stitches. Tails get pulled on a lot…
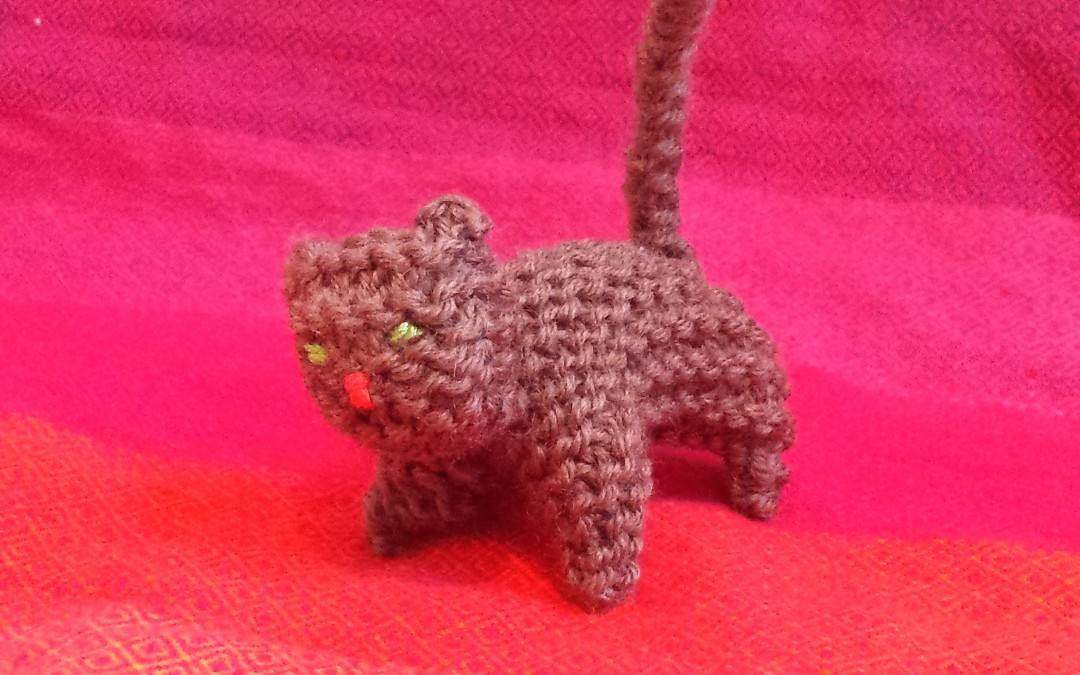
That’s it, you’re done!

Ember loved his kitty. It definitely took his mind off his sniffles, if only for a little while.
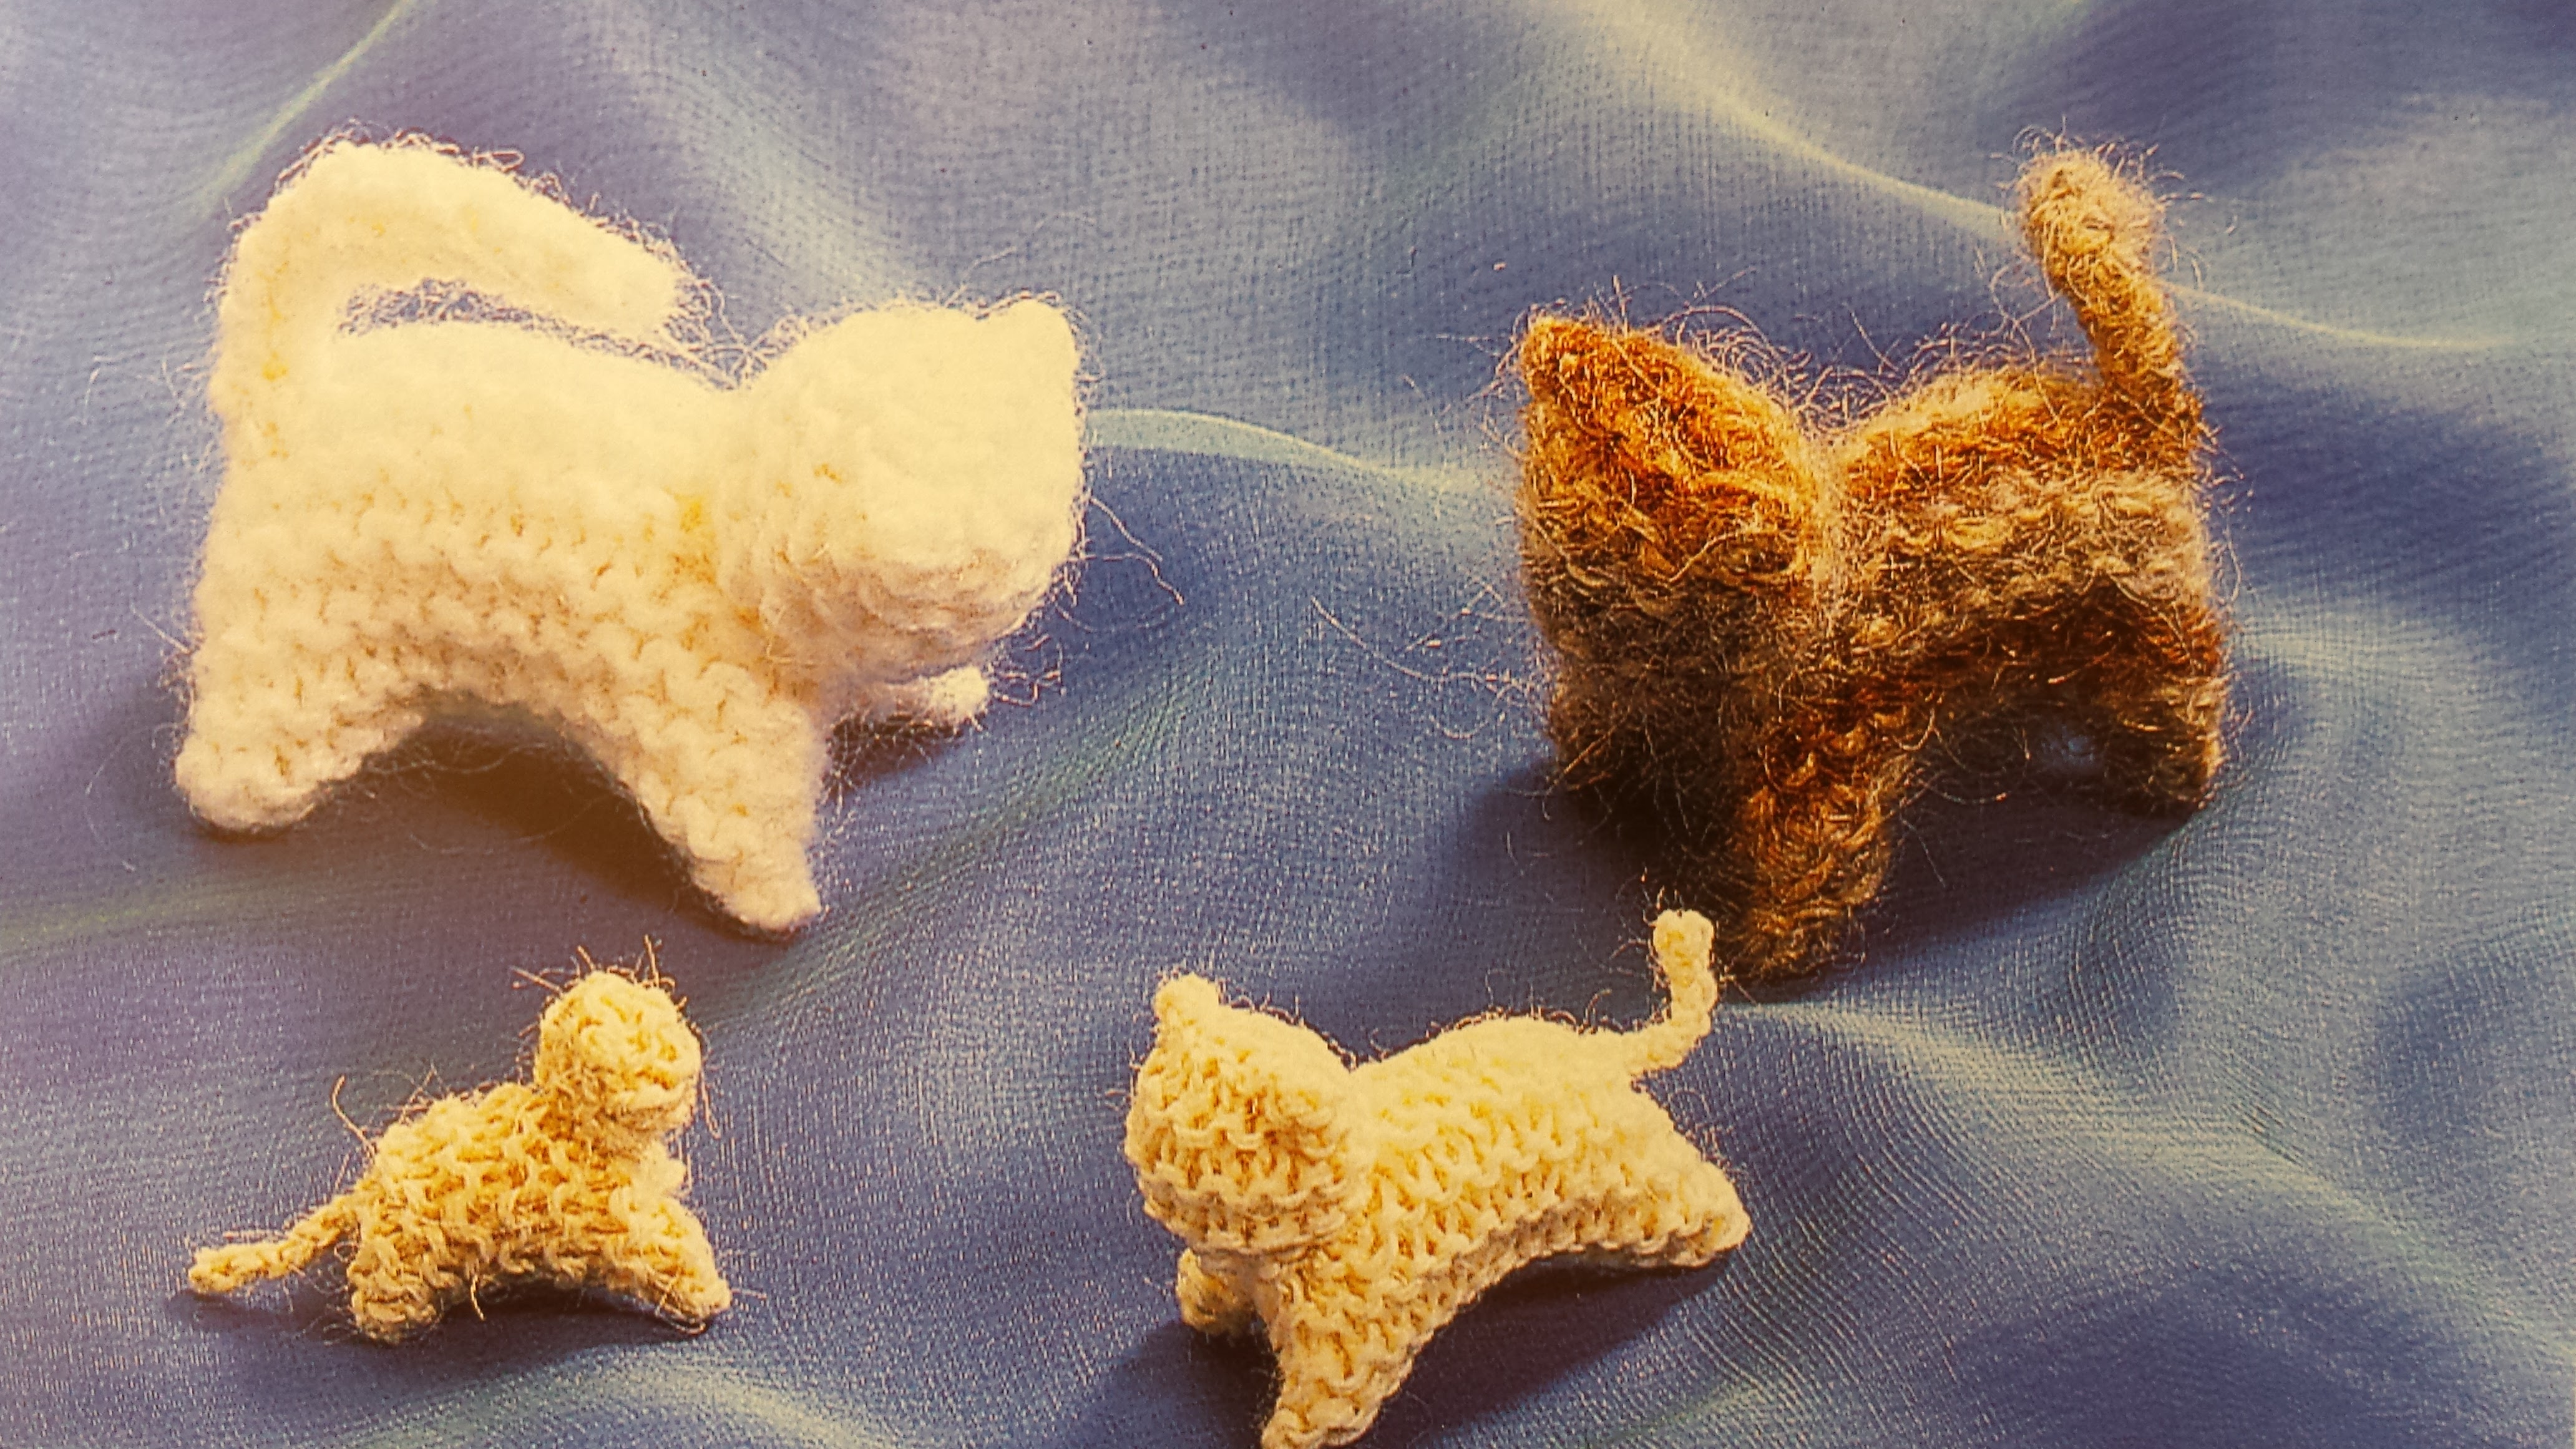
A litter of kitted cats. This image is from Toymaking with Children.
And thanks to Freya Jaffke, for the inspiration. Again, I highly recommend her book.
Happy crafting!